QPM Examples - Using the Fill Standard Cases Window
A new input window has been introduced in Quick Pallet Maker 6 in which you can fill different standard cases and pick the appropriate one(s) before palletizing. This saves time versus the original method of palletizing at once. This example explains how to use this window.
The first step is to run Quick Pallet Maker and to open a new document using the Fill Standard Cases window. The appropriate command is File - New Data Sheet - Fill Standard Cases.
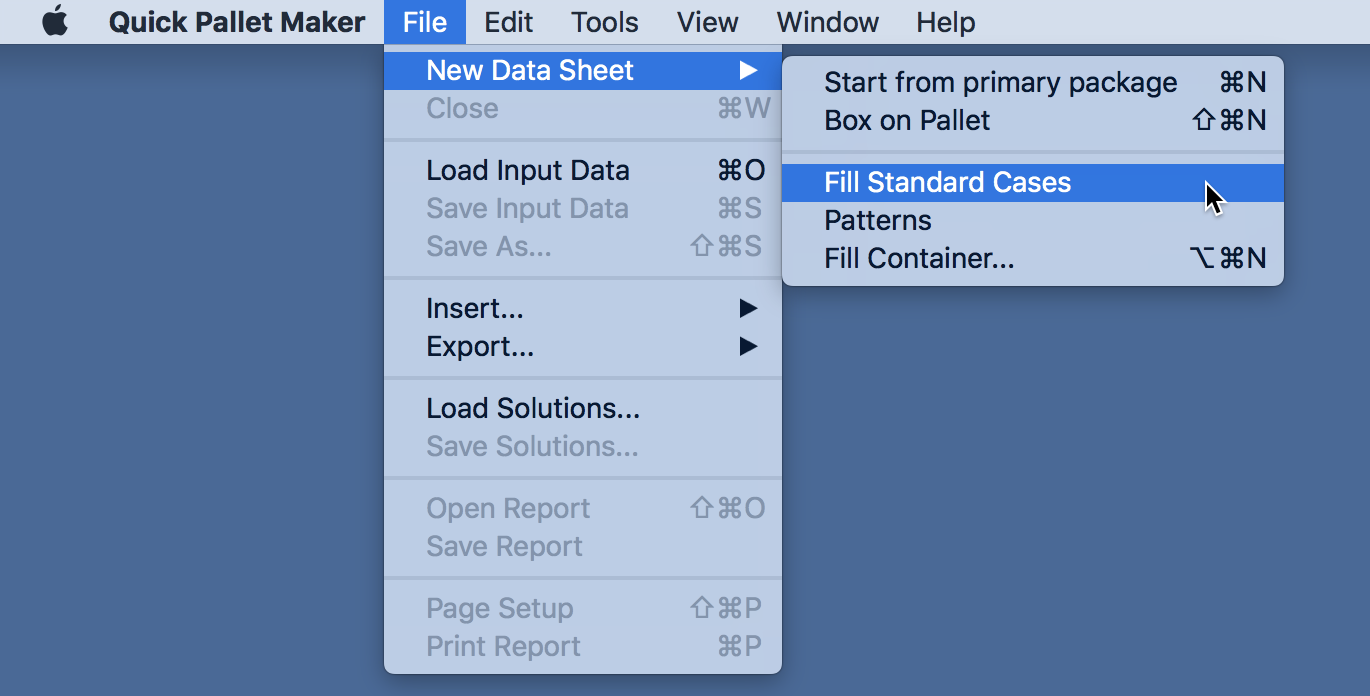
New Data Sheet - Fill Standard Cases
Once this has been done, you should see a window like the one at right. Click on the "Add Package" button to add a primary package using the default dimensions (the ones in the cells at the top).
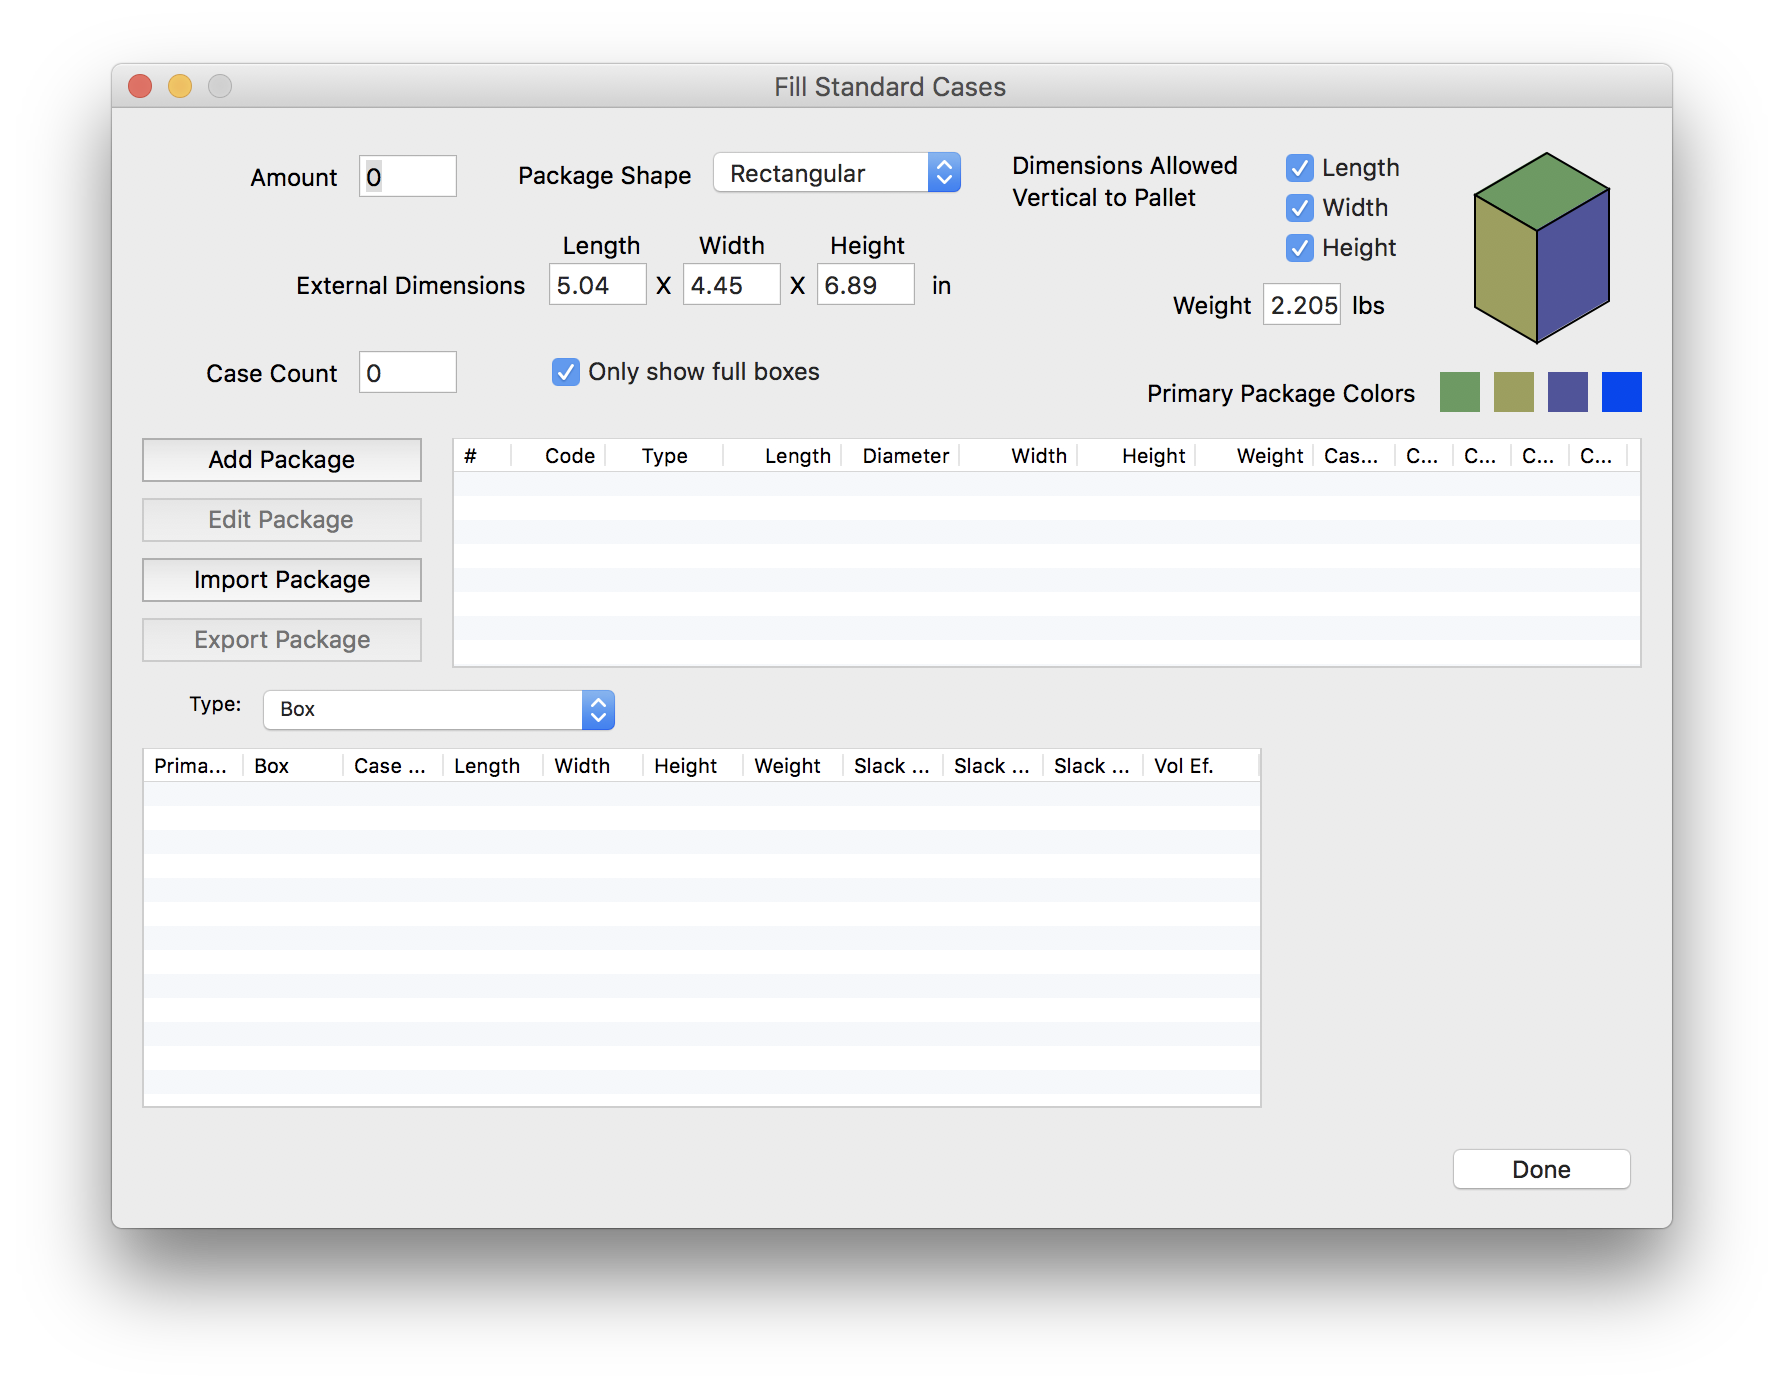
Standard Case Fill Window
Now, we will need to select a type of standard case to fill. These classes are set in the first pane of the Standard Cases and Pallets window that can be opened by using the appropriate command in the Window menu. In this examples, we selected Box, which is the default.
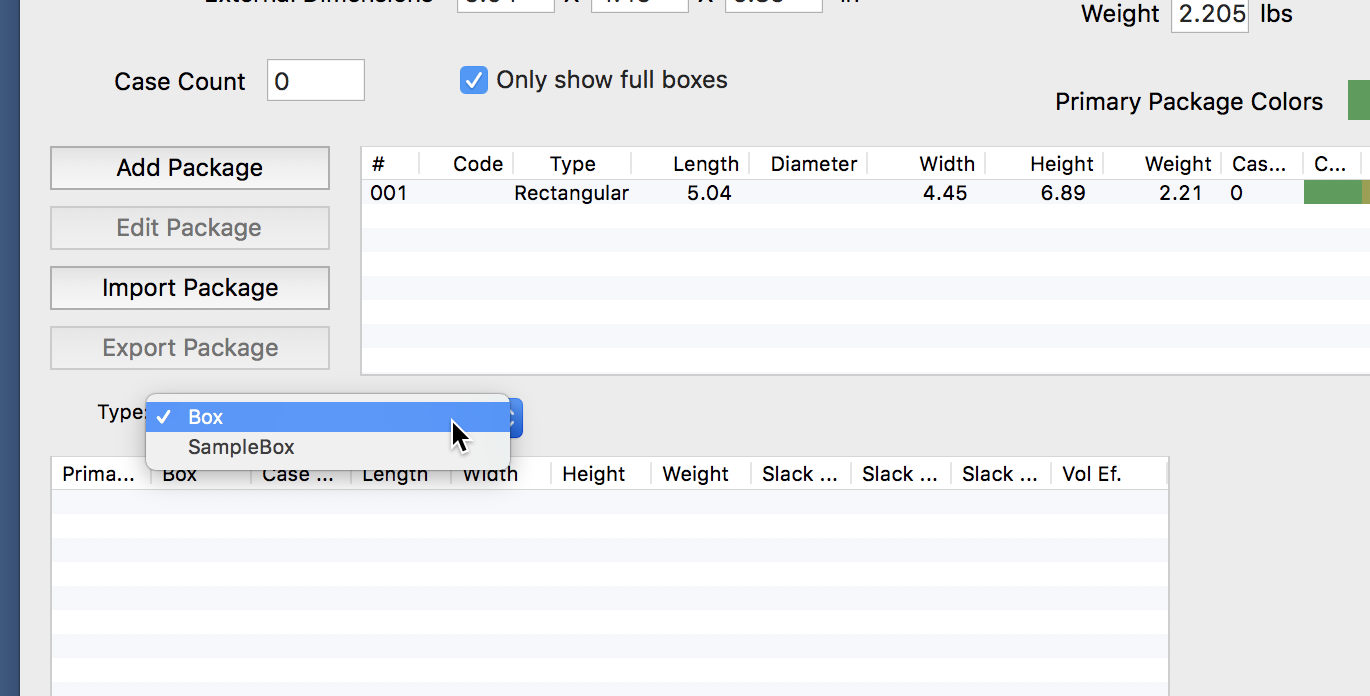
Select Box Type
Finally, we select Tools - Recalculate to calculate a list of standard cases. QPM will run through the list of available boxes and check to see which ones fit, using the maximum slack parameters that can be set in the Preferences/Settings window.
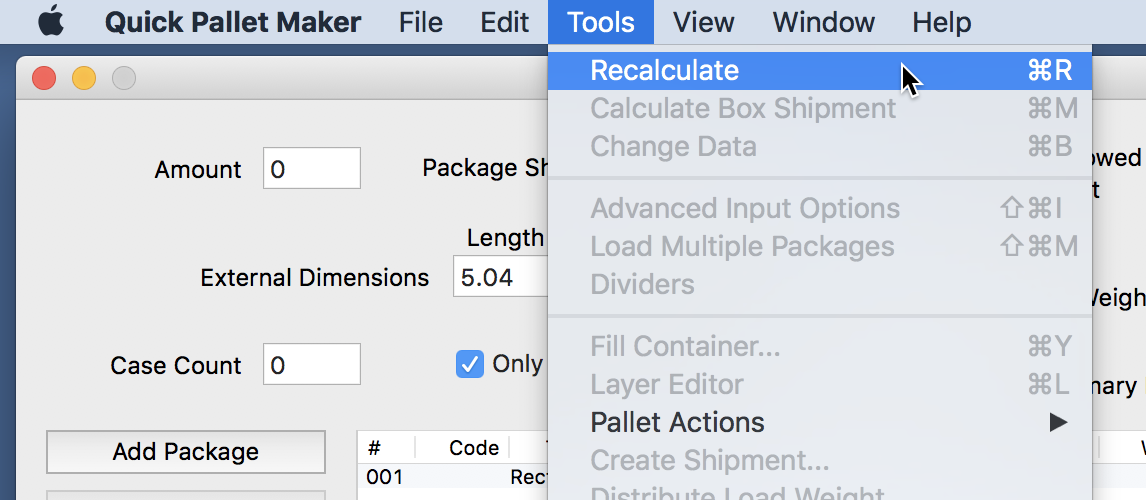
Tools - Recalculate
Once the calculation is over, there will be a list of box fills that depends on how many were able to fit in the available boxes.
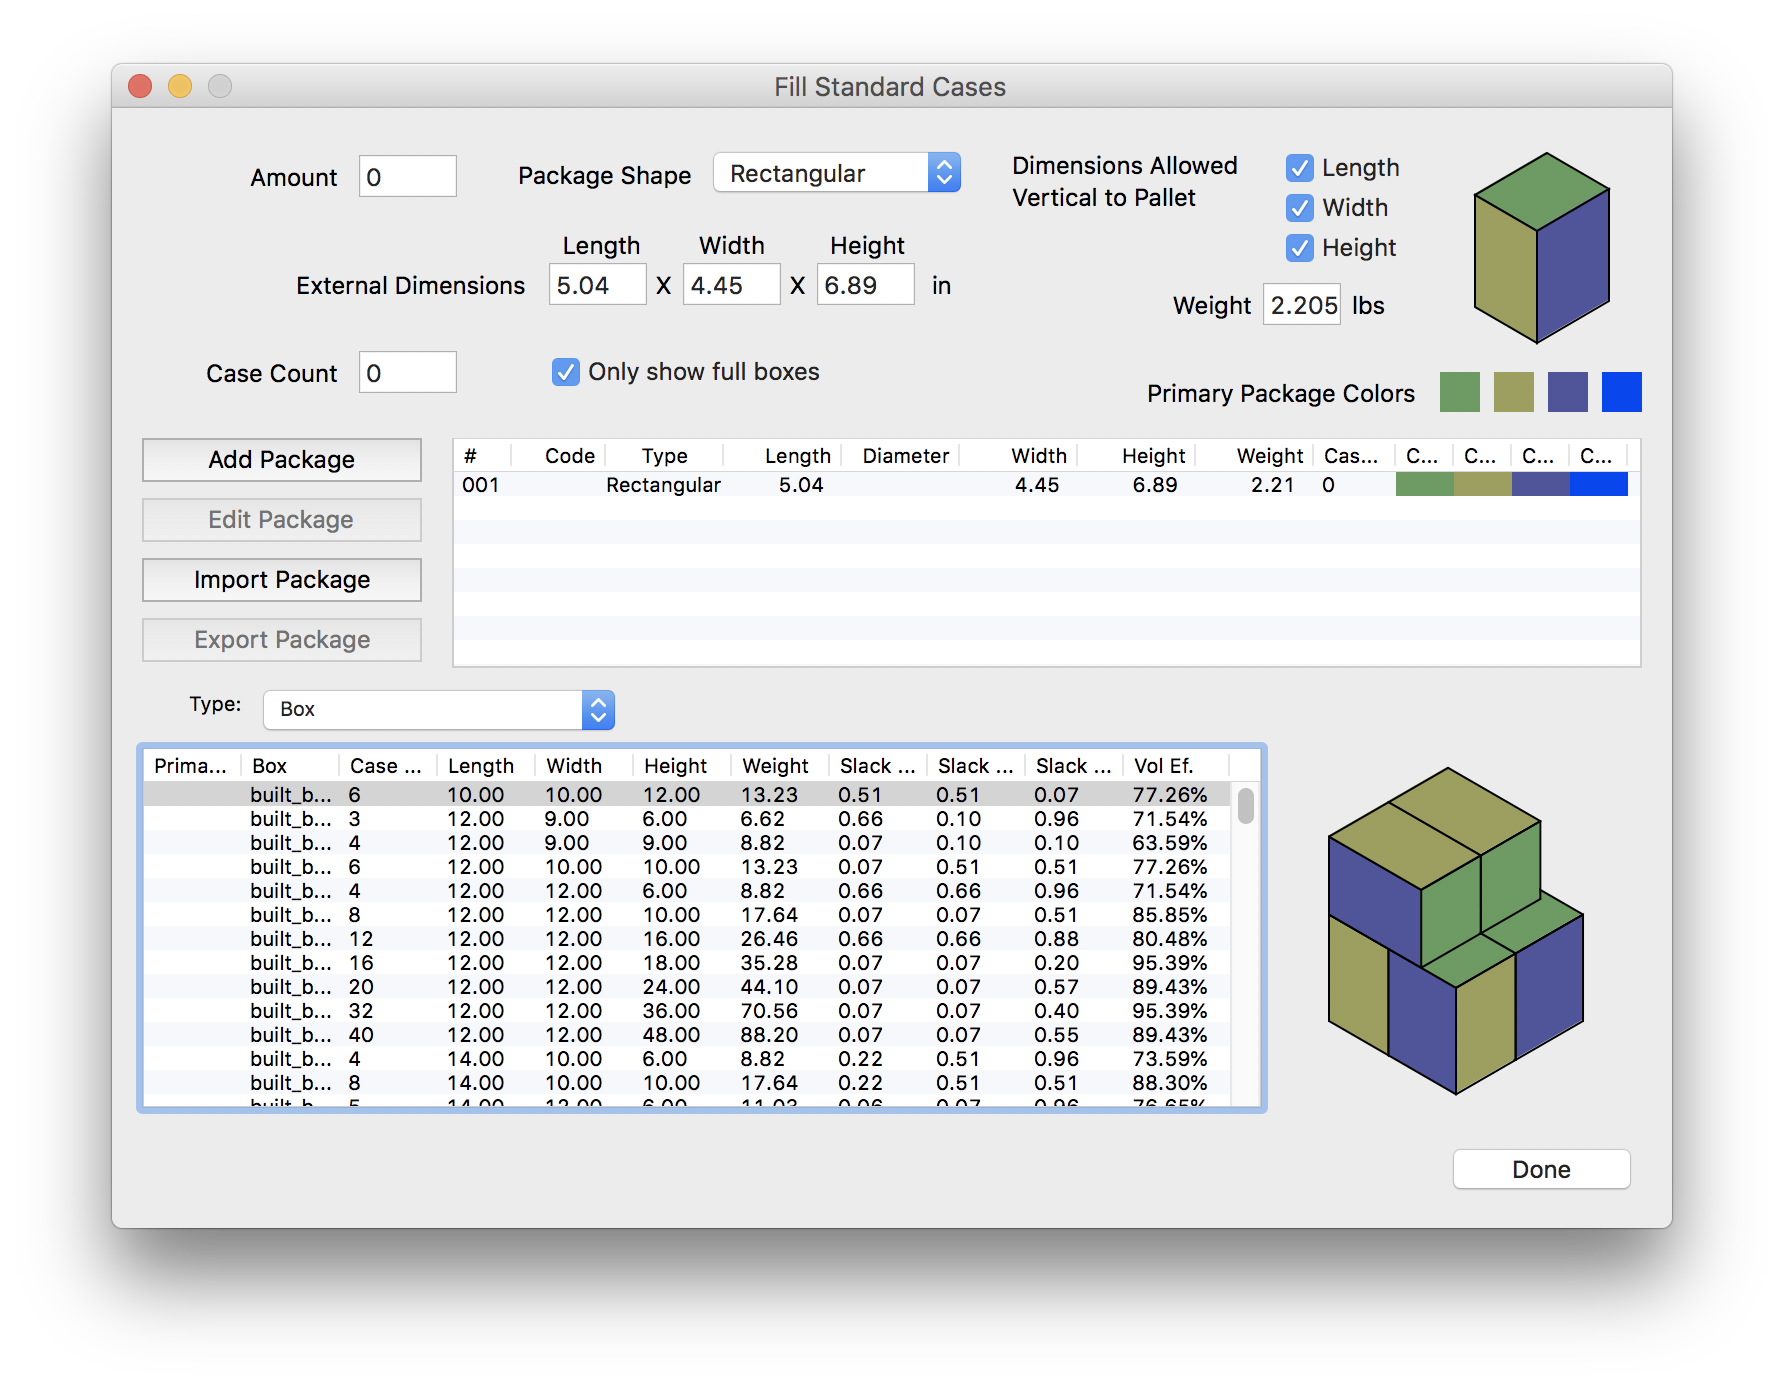
Box Results
You can change the box view by right-clicking on the drawing and selecting other options. The View Box Contents is practical for seeing how much space the packages use inside the box.
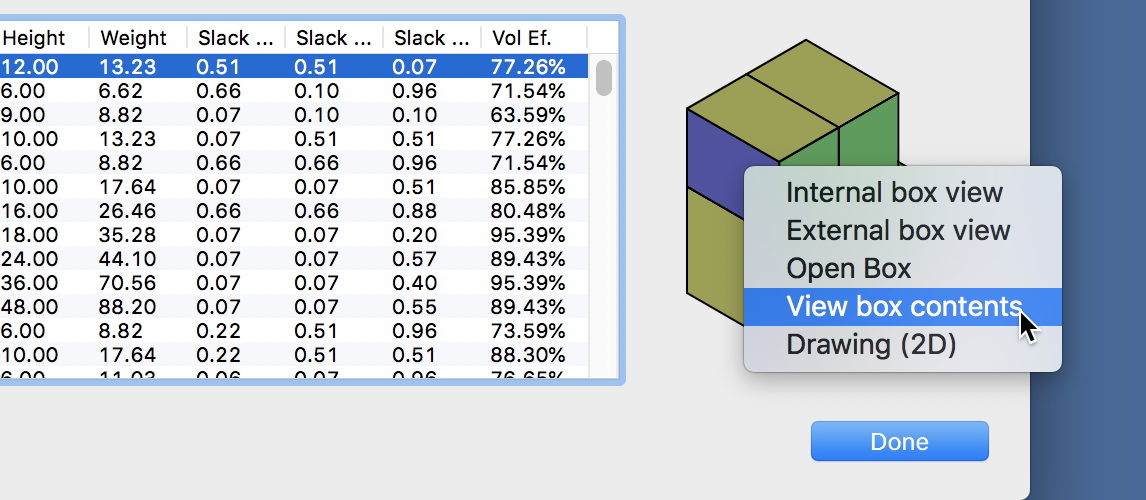
View Box Contents
Once we have created the boxes, we can palletize the ones we want. For this, we choose File - New Data Sheet - Box on Pallet. A new start from box window will open.
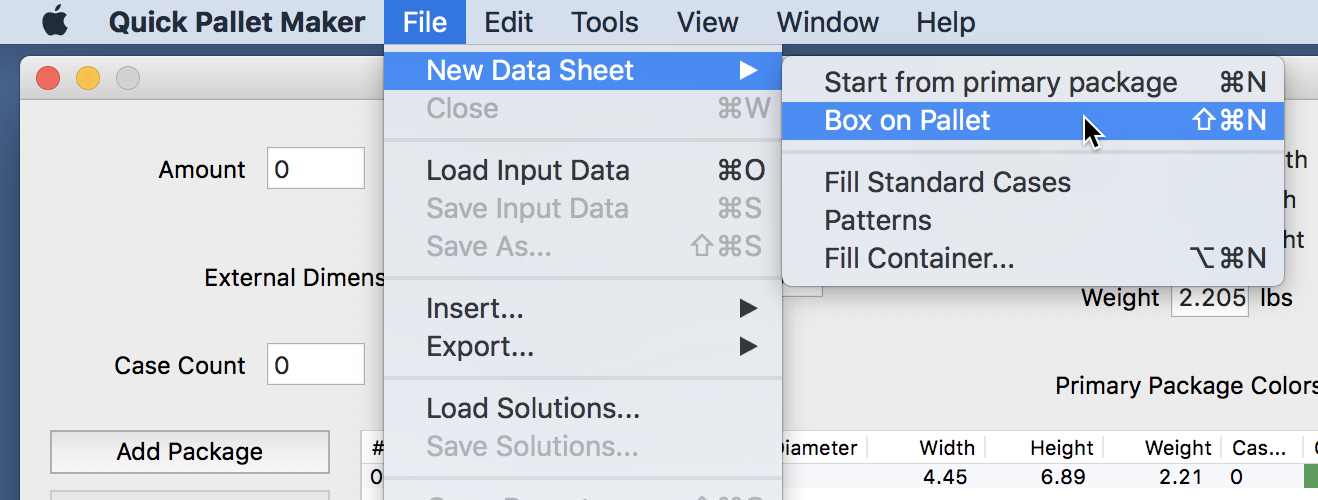
New Data Sheet - Box on Pallet
We can drag the selected box fill from the Fill Standard Cases window to the central table in the Start from Box window.
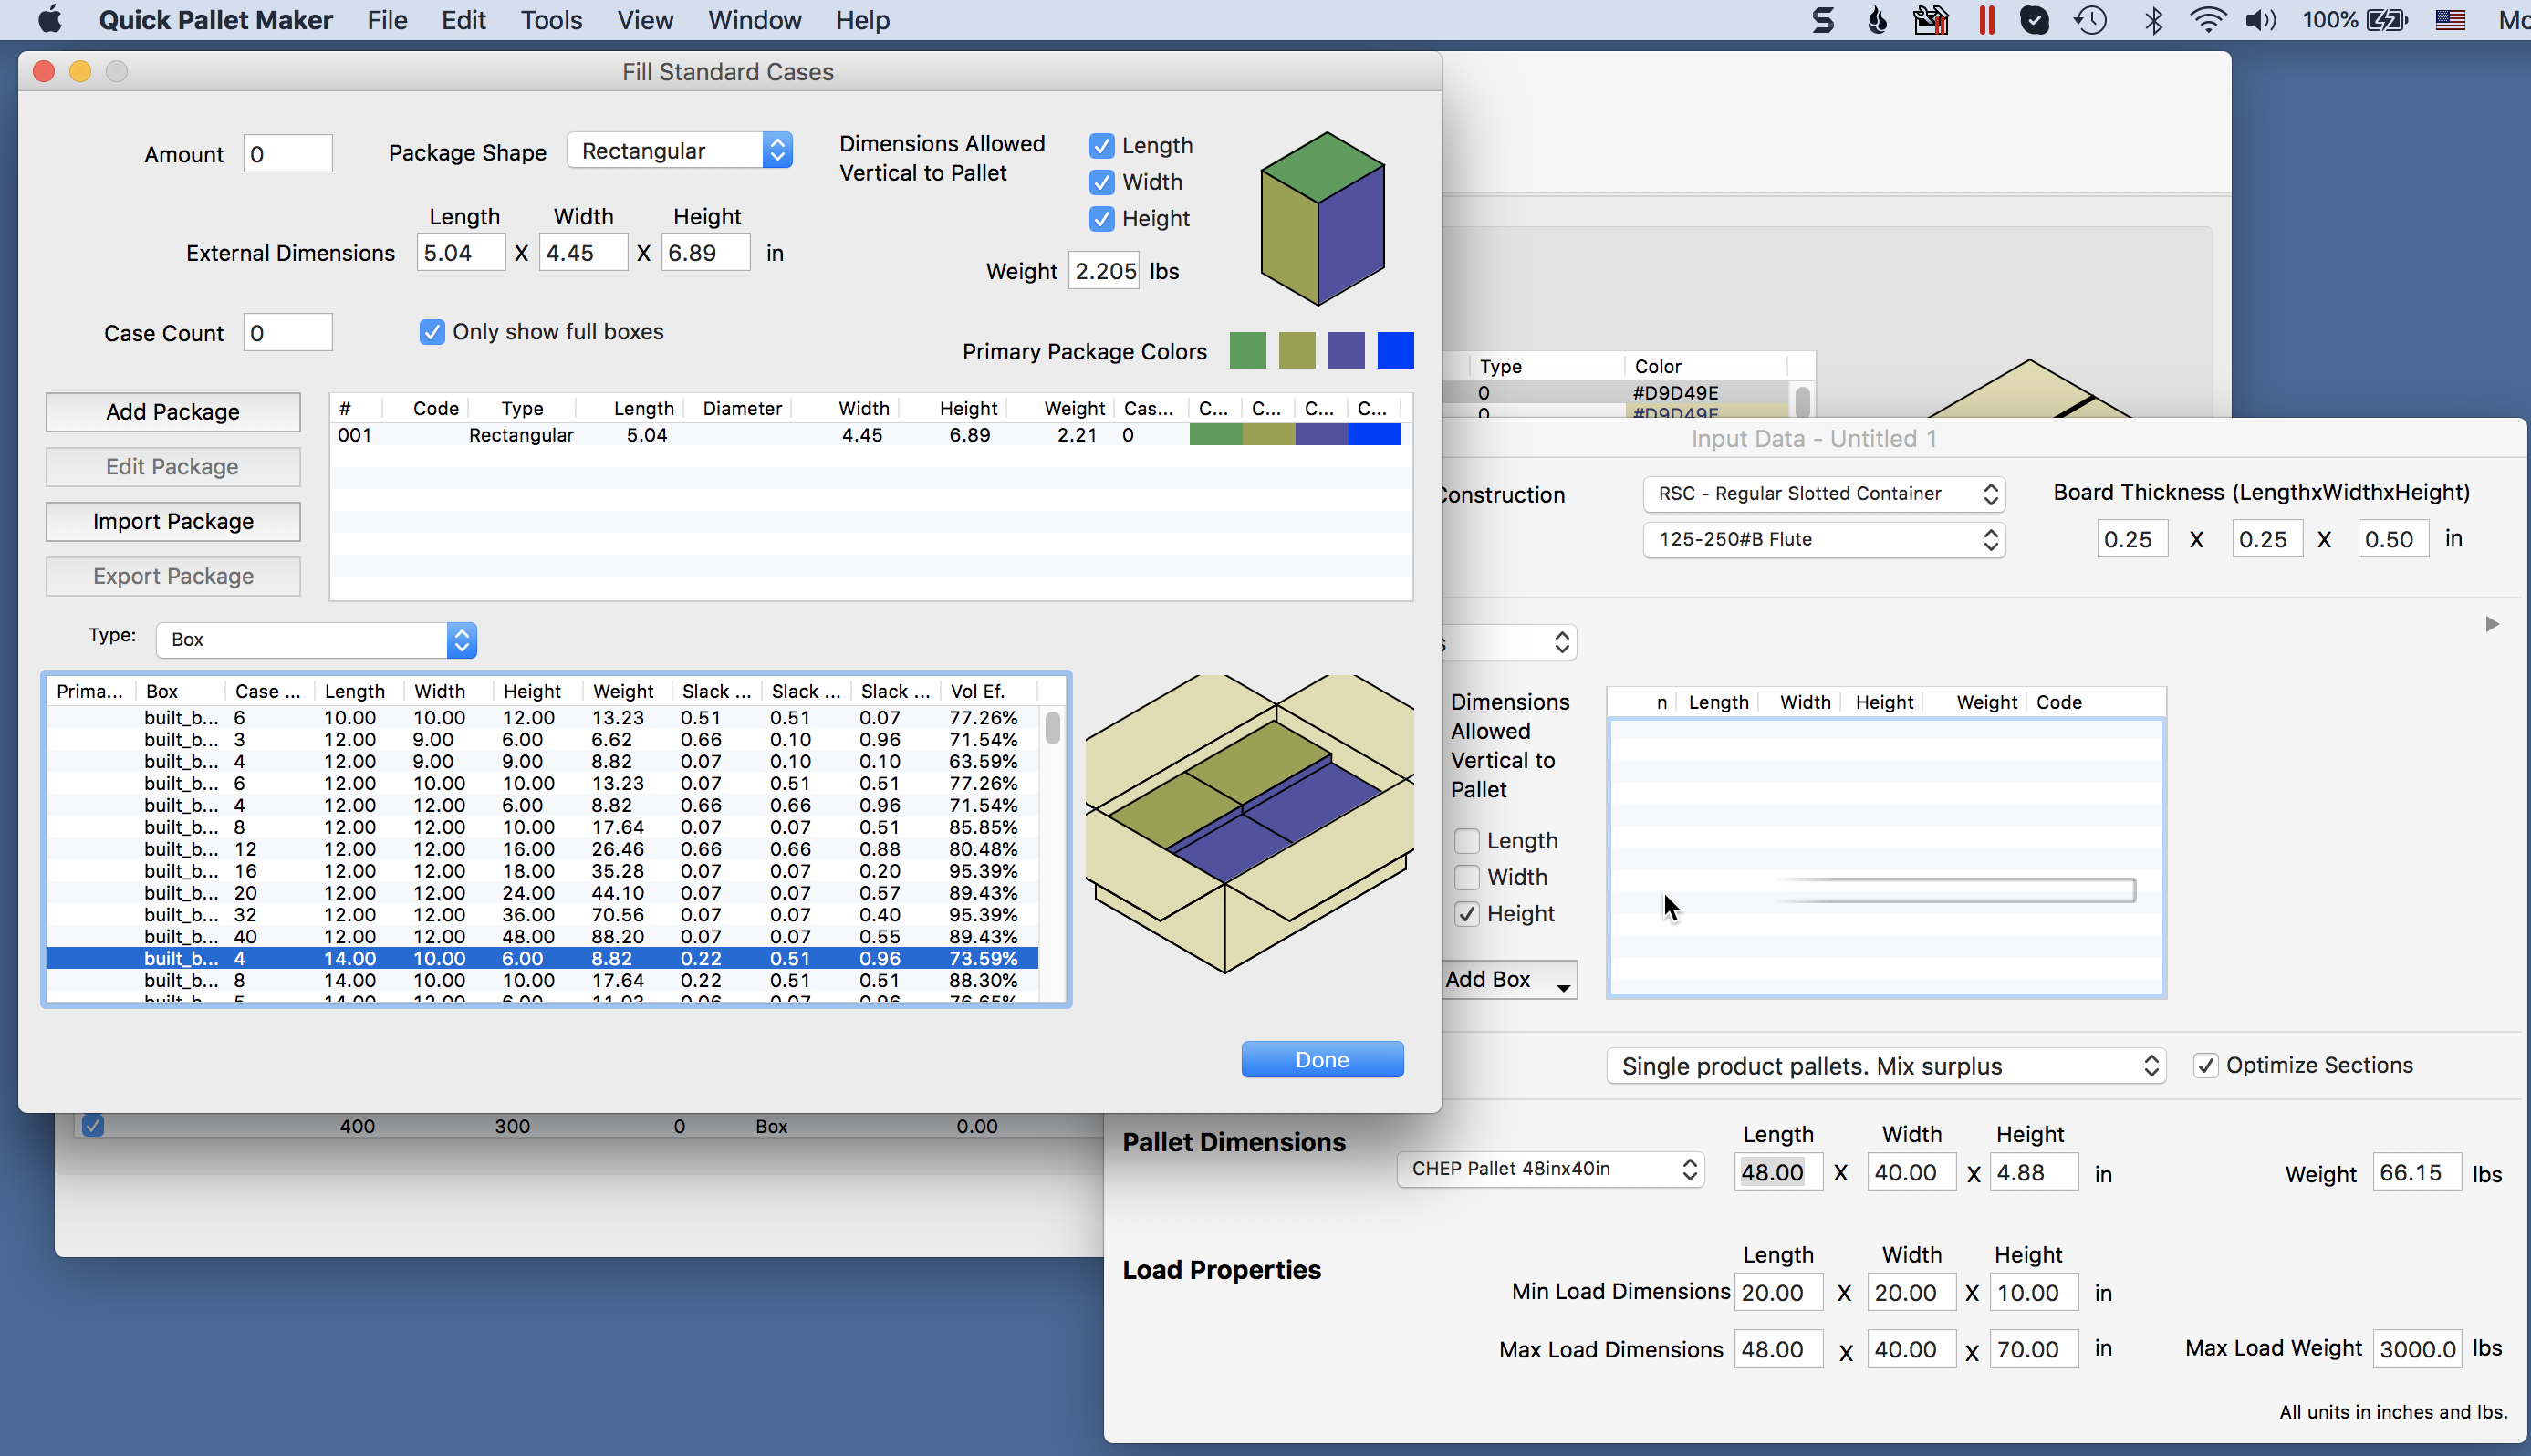
Drag and Drop Box
We make sure that the box appears in the table and it looks just like the one in the previous window. Then, we need to make sure that at least the Height checkbox is checked and select the appropriate pallet.
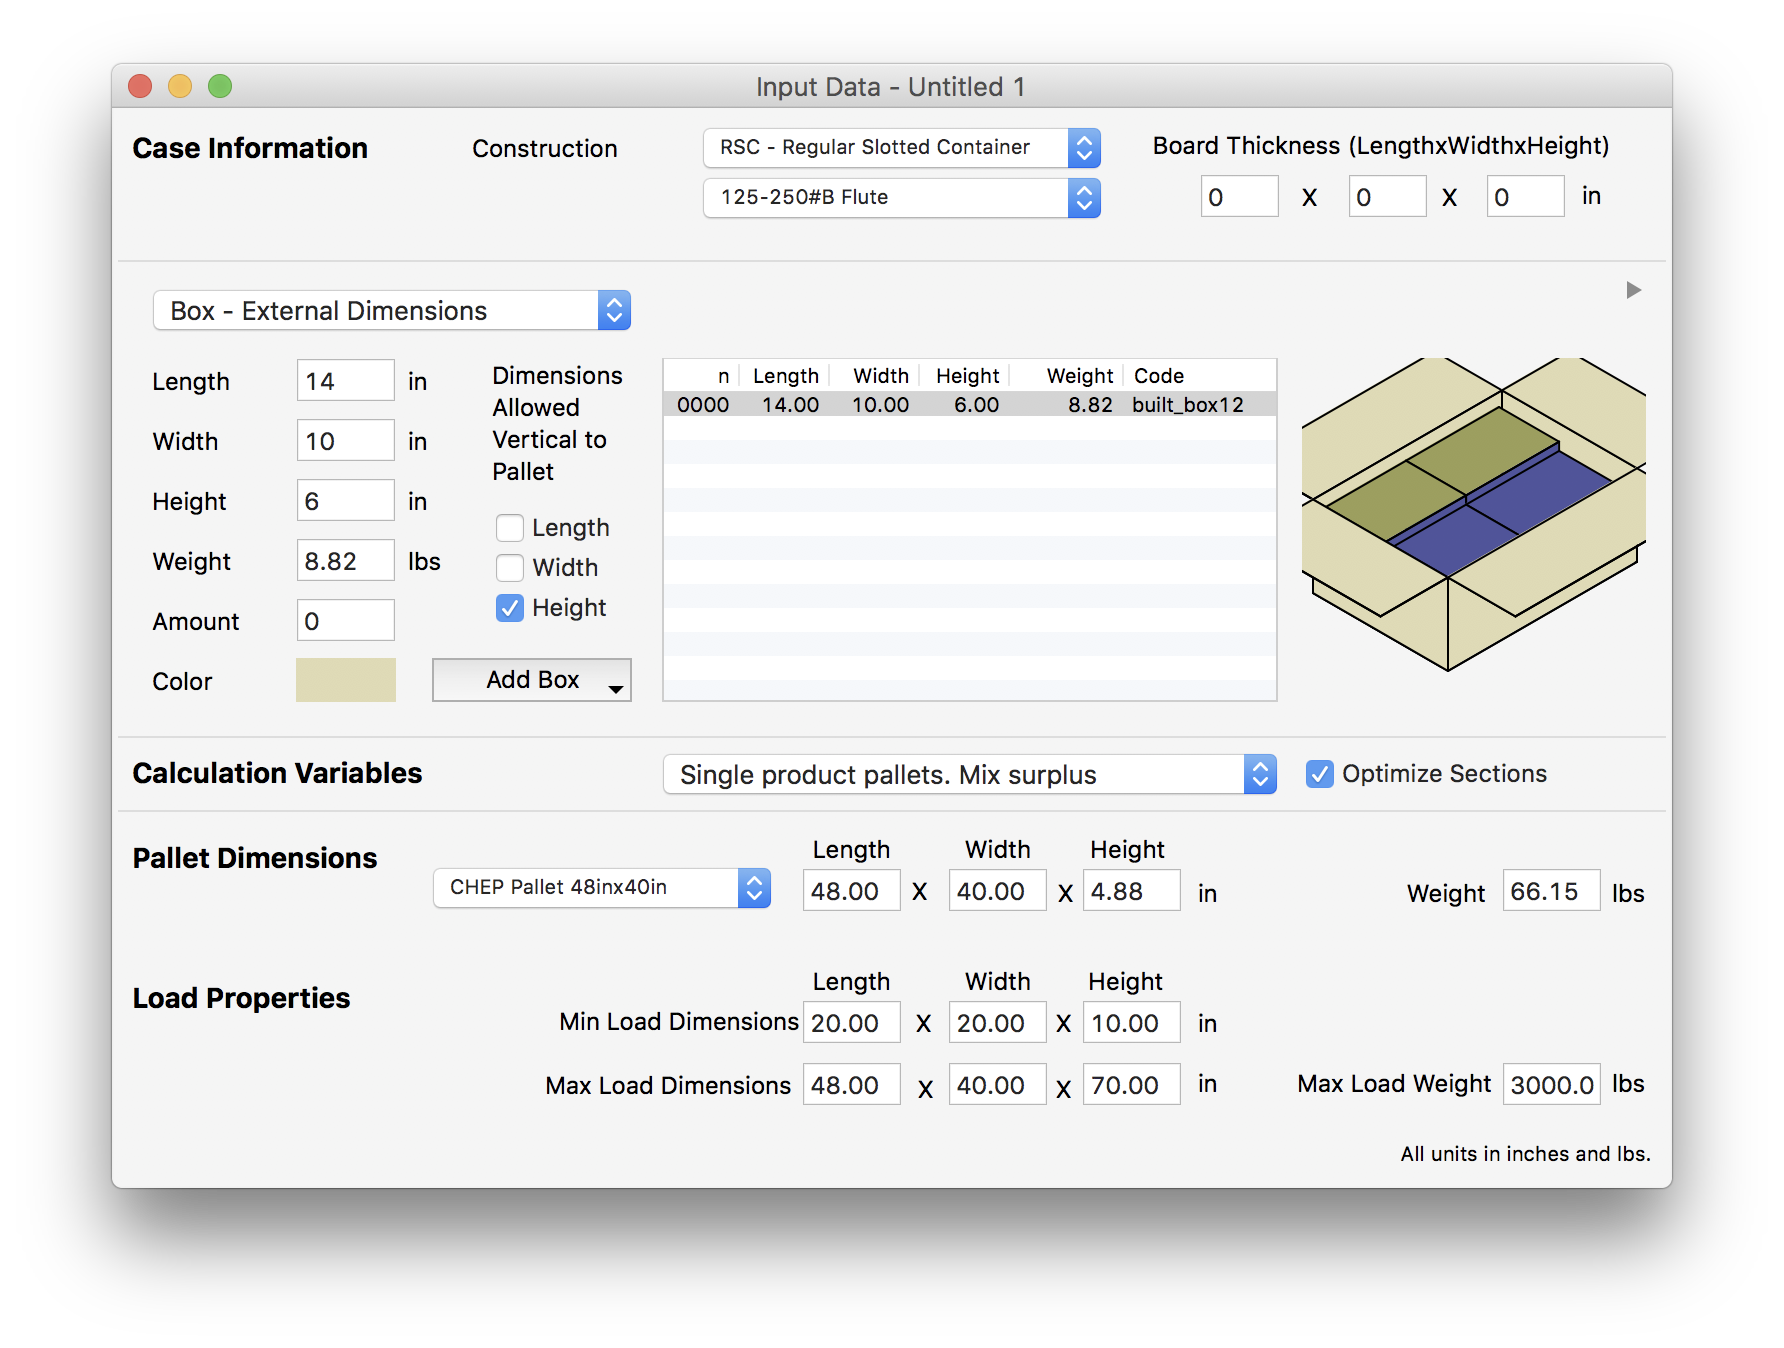
Box Input Window
We use the Tools - Recalculate command to calculate the pallets.
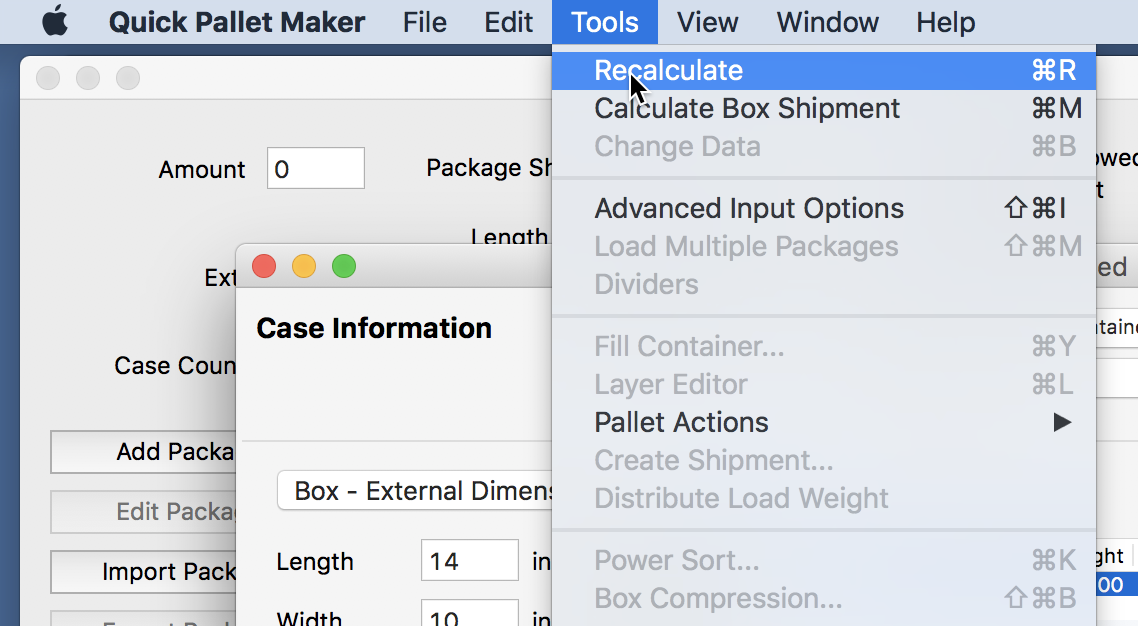
Tools - Recalculate
We should produce the normal list of pallets. These can be used for container fill or for generating reports.
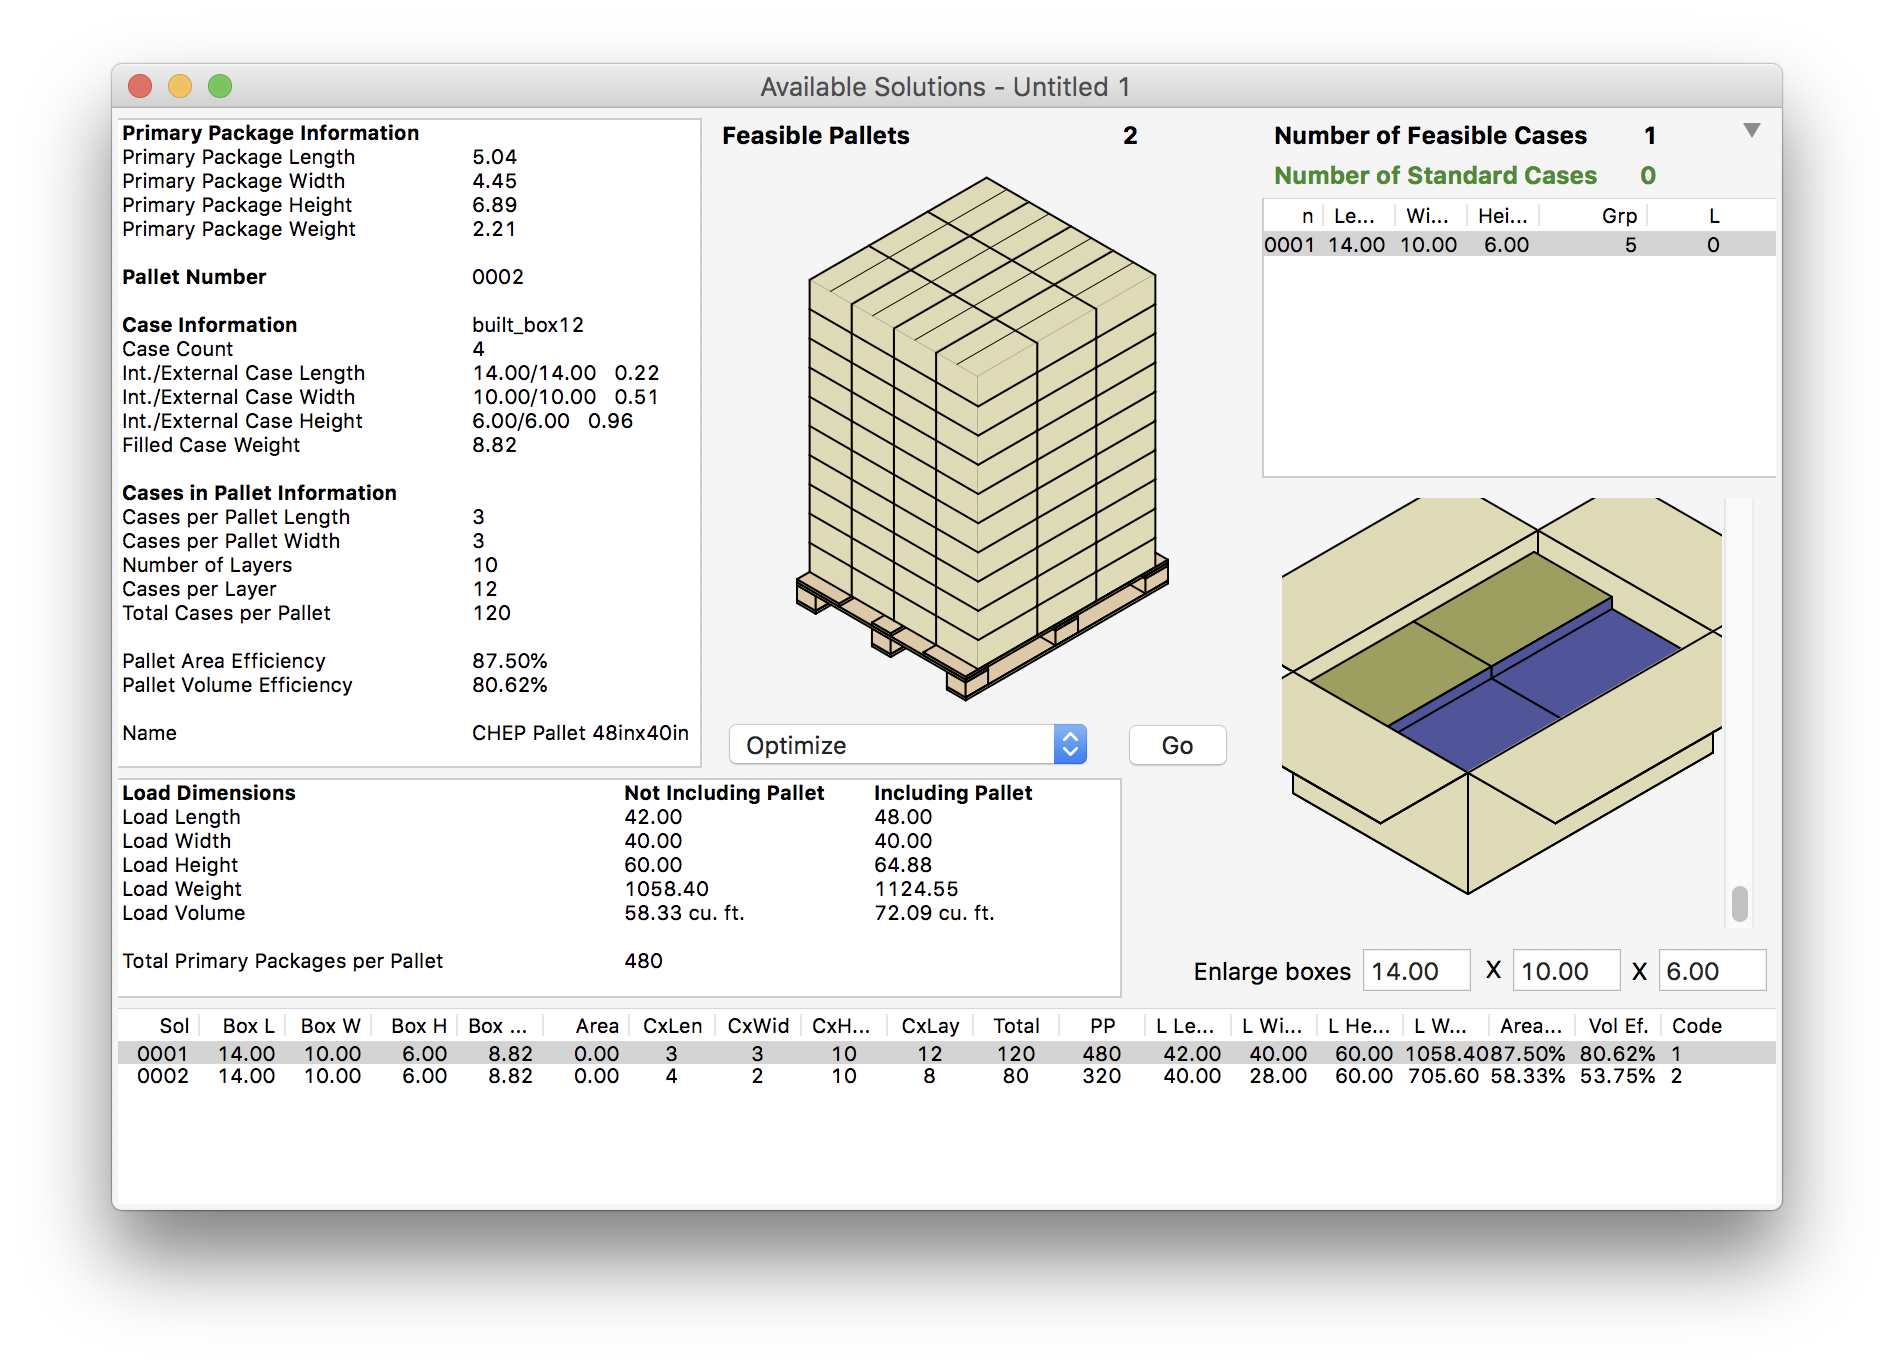
Boxes on Pallet