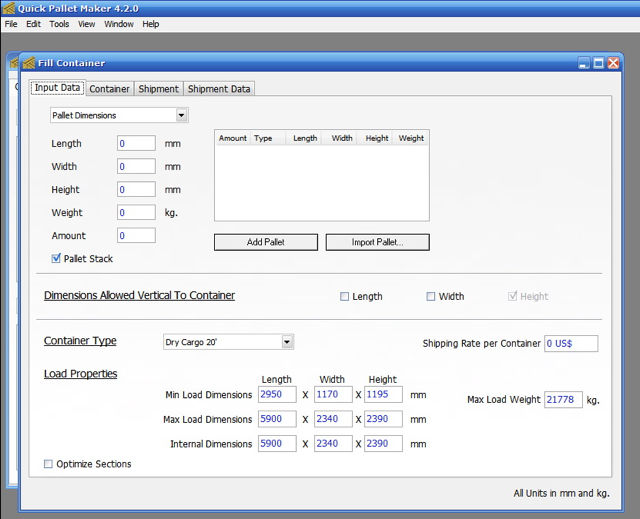
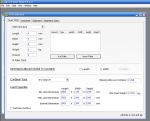
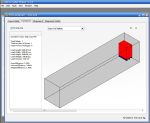
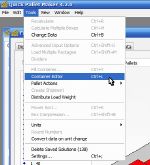
| This example explains how to move an item from one container in a shipment to the other. The first step is to open a new Container Fill window by choosing the appropriate option from the File menu. |
 |
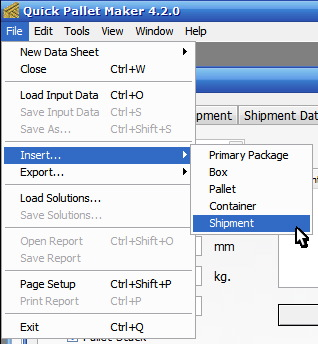
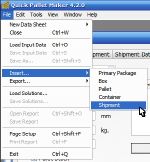
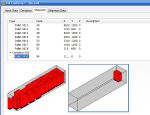
| The next steps is to create a list of pallets for filling up the container. To save time, we will import a shipment file. To download the shipment file, please visit this link. Once you have downloaded the file, decompress it and load it by using the File -> Insert -> Shipment command as shown in the screenshot to the right. |
 |
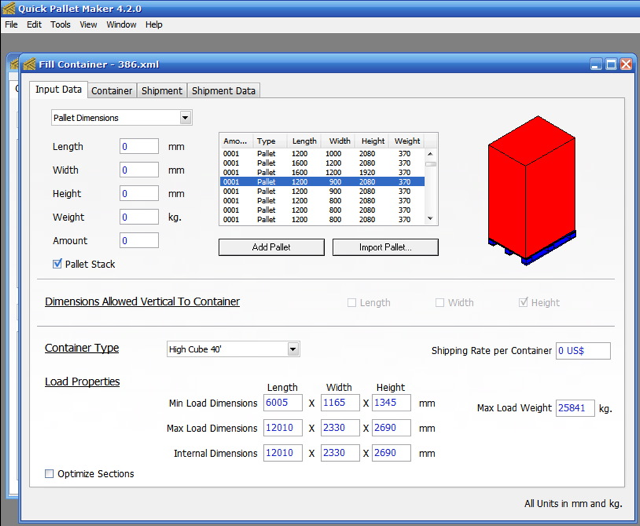
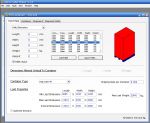
| After laoding the shipment, a list of pallets should appear in the center table. Selecting any of them will reveal their drawing. Note that the shipment file had the container information so it was changed automatically to the 40' container. |
 |
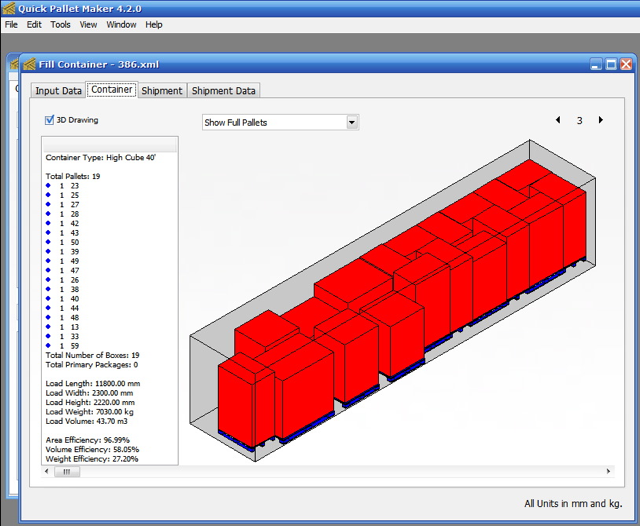
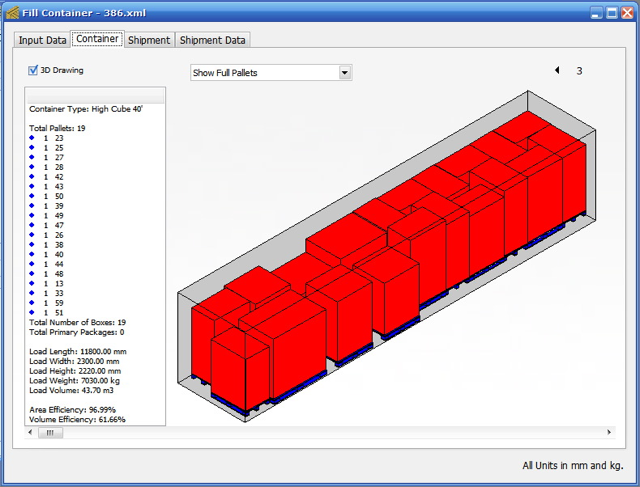
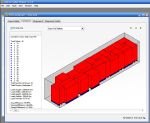
| Selecting Tools -> Recalculate or clicking on the second tab will create the list of containers that make up the pallet shipment. If we go to the container number 3 in the list, we can see that it is quite full but could probably fit another pallet. |
 |
| But when we go to the fourth container, we see that it has only one pallet which is really inefficient. Hence, we look for a way to place that pallet on the previous container and just ship 3 of them. |
 |
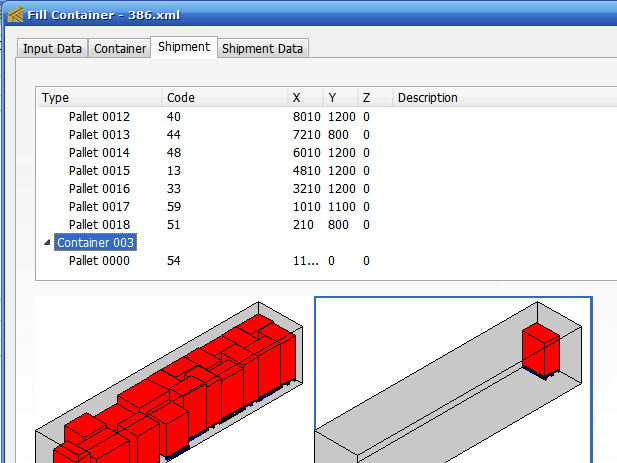
| To do that, we go to the Shipment tab, which is the third one of the Container Fill window. |
 |
| Once there, we disclose the contents for the third and fourth pallets and center the scrollbar so that we can see both of them. |
 |
| Then, we drag the pallet from the fourth container to the third container. |
 |
| Notice in the drawing that the pallet has appeared at the end of the third container but partially outside of the container. The pallet is still in the fourth container, too so what we did was copy it from one container to the other. |
 |
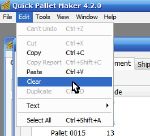
| Since we won't need that pallet in the fourth container anymore, we select it and use Edit -> Clear to remove it. |
 |
| Being the last pallet in the container, QPM automatically deletes the empty container in full. |
 |
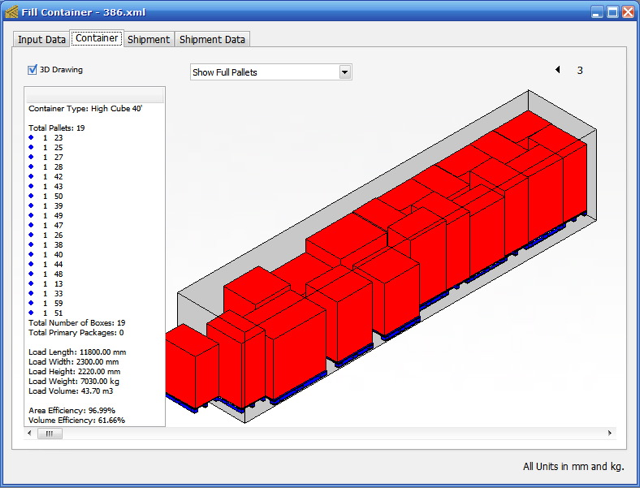
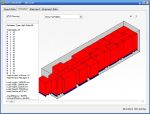
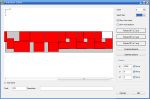
| Our next step is to fix the third container, that has a pallet sticking out. If we go back to the second tab of the Container Fill window, we can see the drawing of the container showing us that last pallet. |
 |
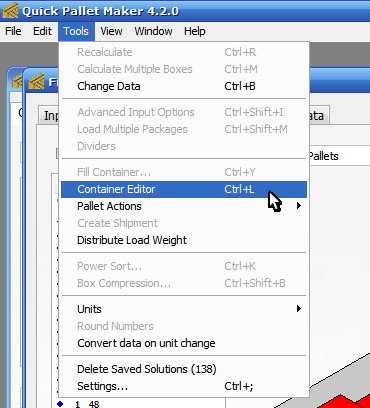
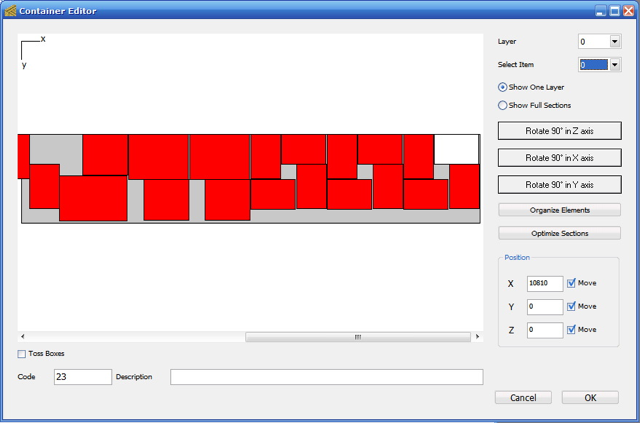
| Therefore, to solve thjs issue, we open the Container Editor, which can be found through the Tools menu. |
 |
| Once in the Container Editor, we use View -> Toggle Pallet View to change the drawing view until we see the container from a bird's eye perspective. |
 |
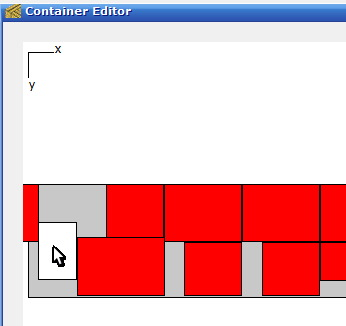
| Then we grab the second pallet from left to right, move it upwards either by dragging it or changing its Y coordinate to 0 and then we flip it using the "Flip in Z Axis" button. |
 |
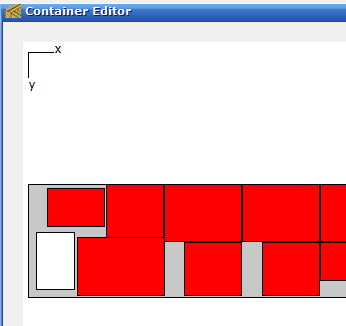
| That last movement created sapce for us to fit the pallet that was sticking out. We select it with the mouse and move it into the available space as in the screenshot to the right. |
 |
| After using the "Organize Elements" button and closing the Container Editor window, we should see the third container in all its pallet-filling glory. |
 |