| This example explains how to change the container size of one or more containers from a shipment. This is specially useful if we have several full large containers but not enough items to fill the last one. Therefore, with Quick Pallet Maker, we can change the last container to a smaller size and pay less for freight (or ship less air). The first step is to run Quick Pallet Maker and open a new Container Fill window. This is done by selecting "File -> New Data Sheet -> Fill Container". |
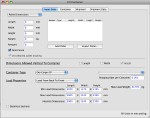 |
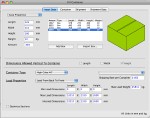
| The next step is to add the boxes that we will use for calculating. The list is available in the MS Excel file that can be downloaded through this link. We open the file, select the boxes and paste them onto the central table of the window. After the boxes had been added, we select the appropriate container type which in this case is 40' HQ. The next step is to use "Recalculate" from the Tools menu. |
 |
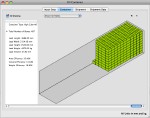
| After calculating, the software produces a set of containers that feature the boxes from the list. This is the first one. |
 |
| And this is the second one. |
 |
| The third container is also full. |
 |
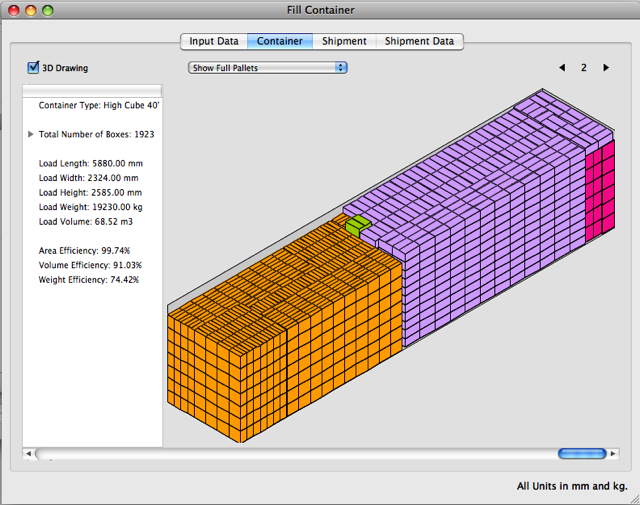
| And finally, the fourth container is half empty. This represents plenty of empty space that is being billed but not used. |
 |
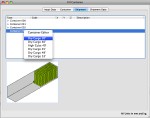
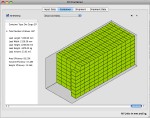
| Therefore, we will use the new Quick Pallet Maker feature that changes the container type. We click on the third tab and then select the last container from the table. The drawing of the partially-filled container should be visible as in the screenshot to the right. We click on the table with our right mouse button (ctrl+click on a one-button Mac) to show a menu from which we will select the smaller 20' container. |
 |
| After a while calculating... |
 |
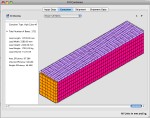
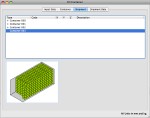
| We see that QPM has replaced the last 40' High Cube container with the 20' DC container. |
 |
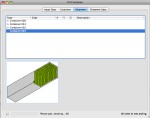
| Clicking on the second tab will show the container with more detail. |
 |