Iterate Pallets to Pick Best Option
In this example, we will explain how the Advanced Input Options in Quick Pallet Maker can be used for picking the best custom pallet type for a given box shipment.
The first step is to add the list of custom pallets. For this, we will first select the Window - Standard Cases and Pallets menu option.
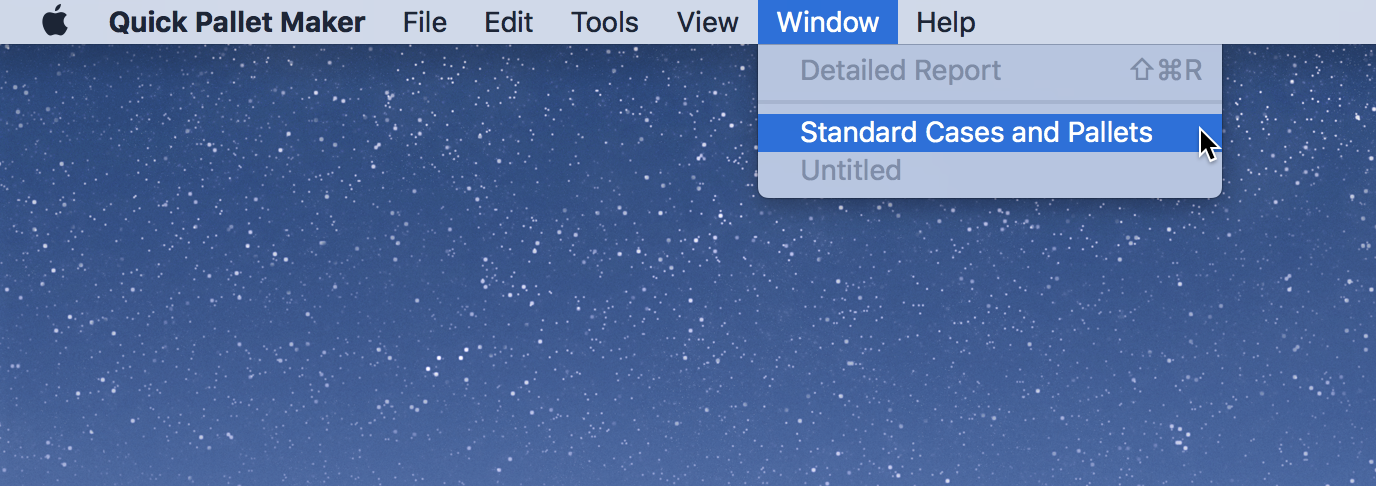
Window - Standard Cases and Pallets
The Standard Cases and Pallets window will appear, we click on the Pallets tab to show the list of standard (available) pallets.
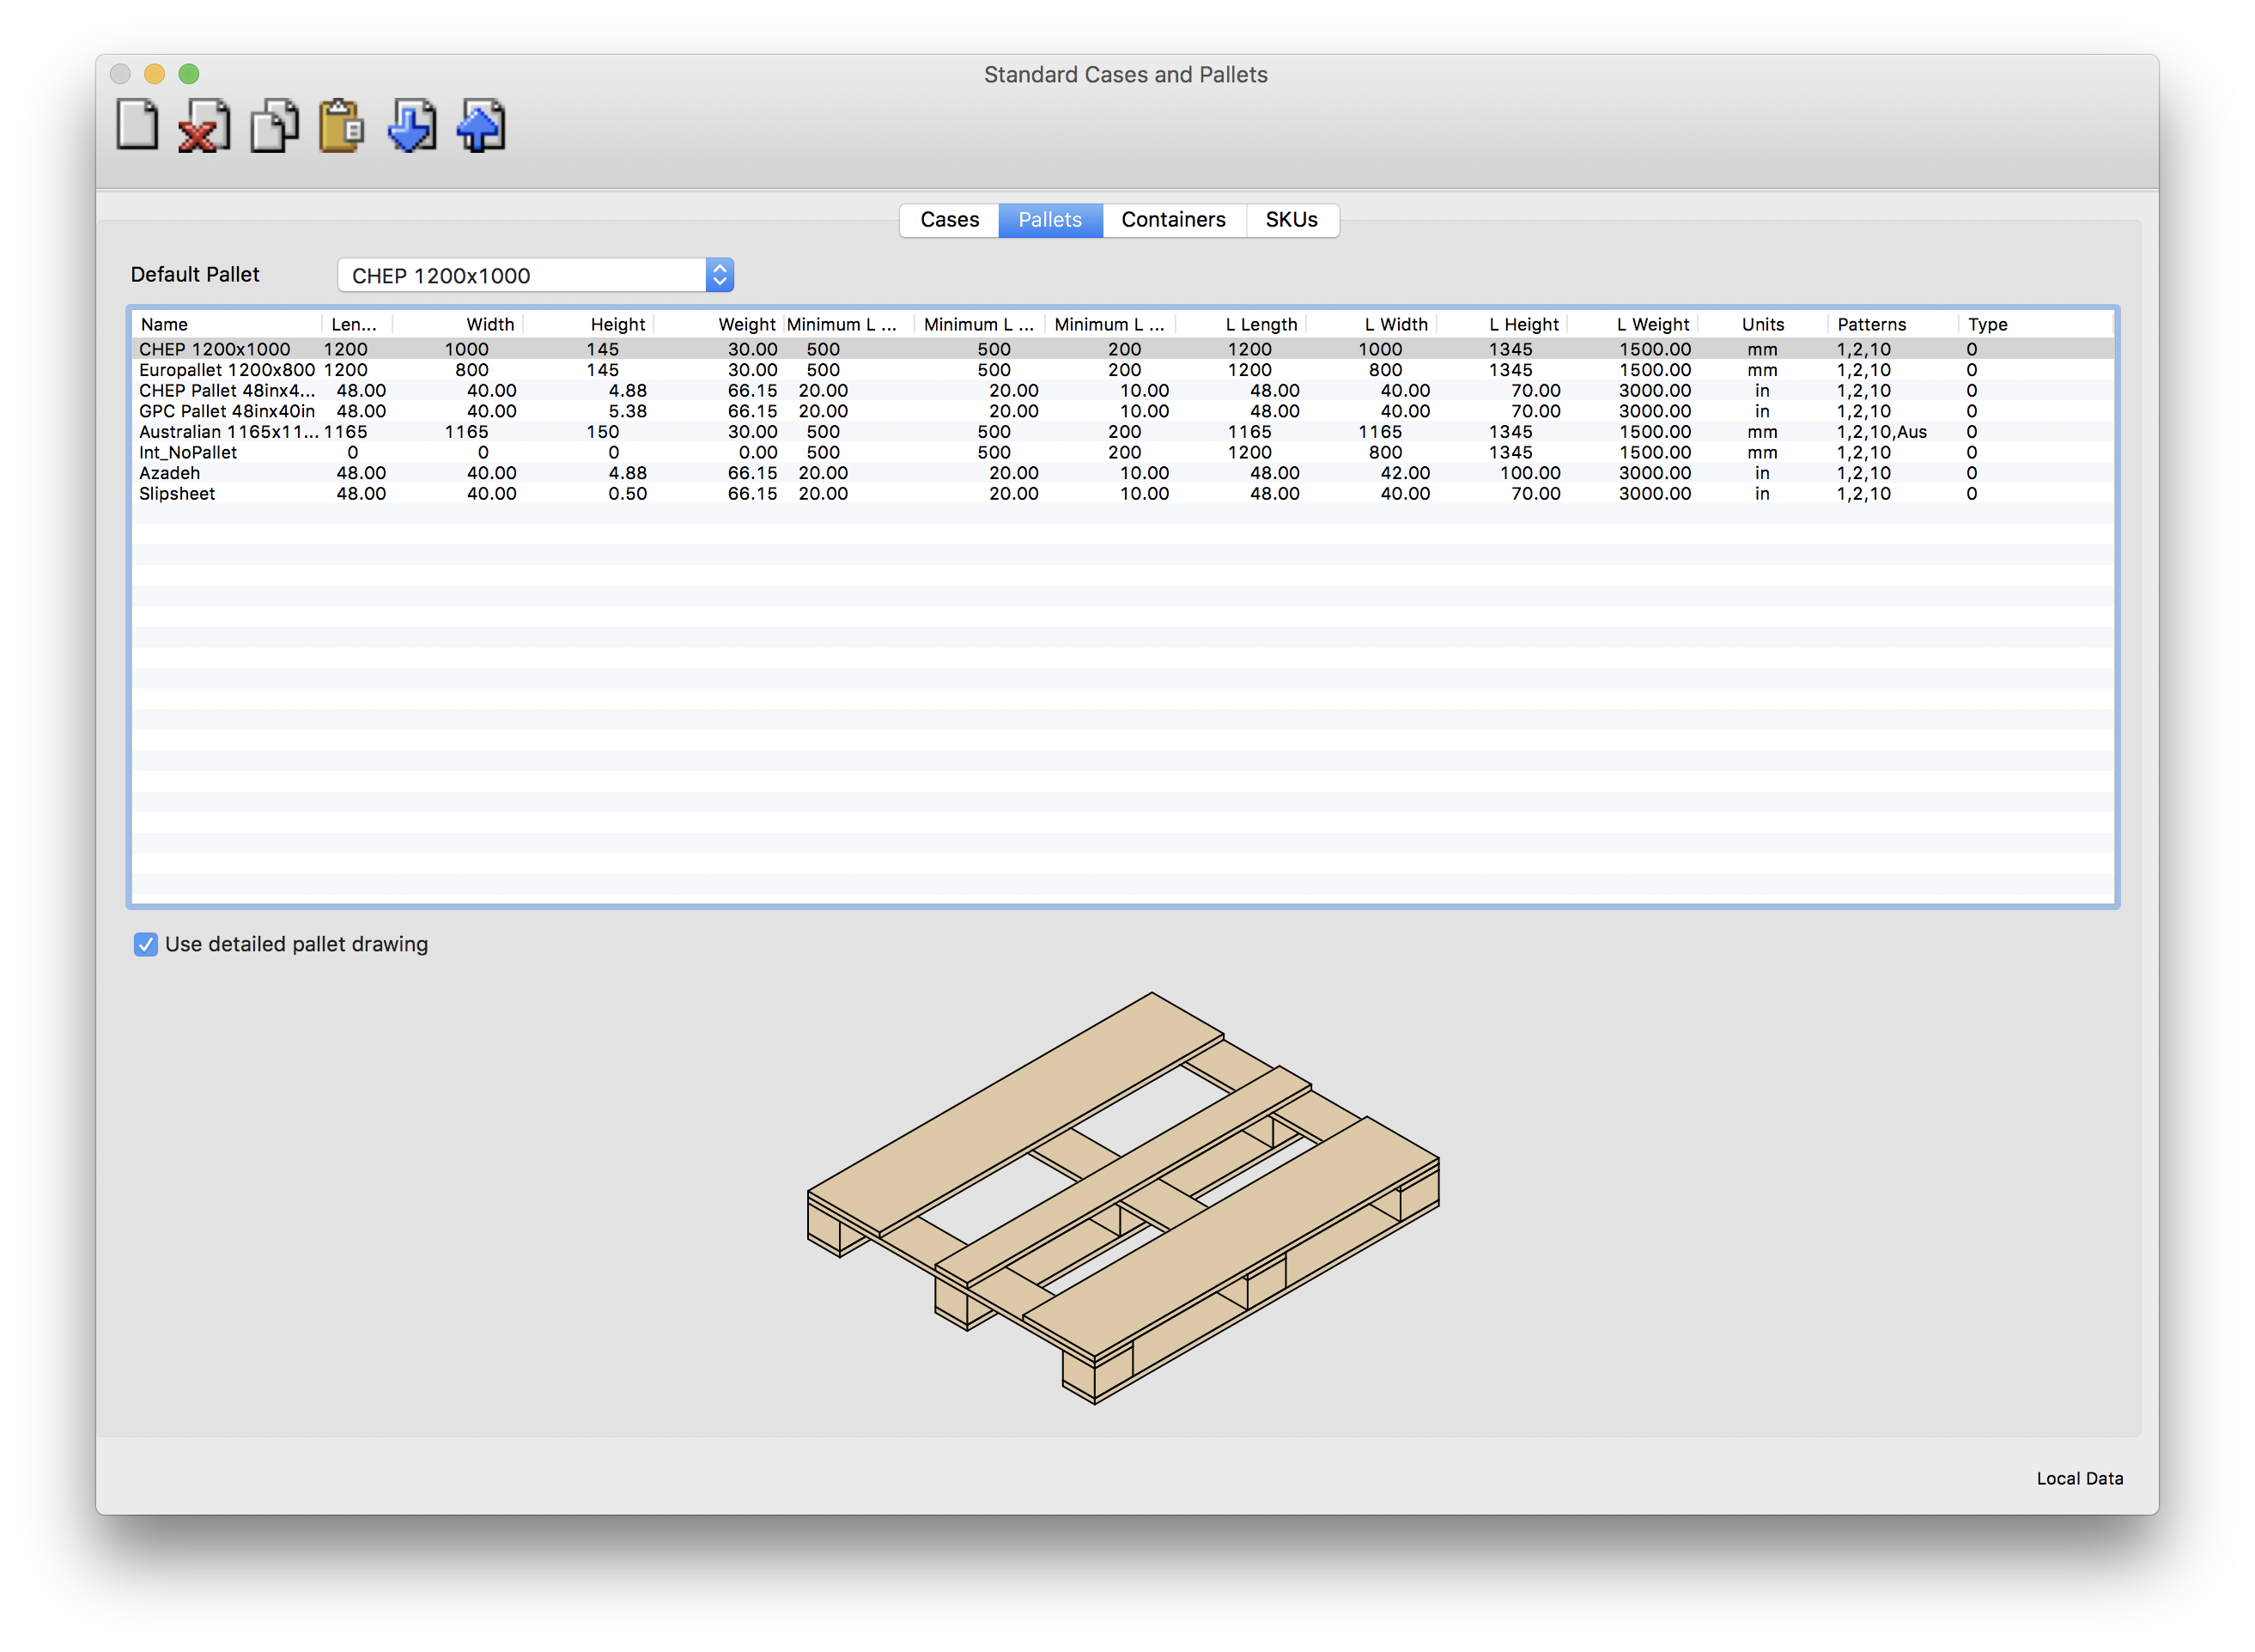
Standard Pallets
The custom list of pallets that we will be using, can be pasted from a spreadsheet using the following format:
- Use: type TRUE if this pallet will be enabled from the start
- Code: The unique pallet identifier
- Description: A longer description of the pallet
- Length: the longest dimension of the pallet
- Width: the shortest dimension of the pallet
- Height: the height of the pallet itself
- Weight: the weight of the empty pallet
- Units: choose between mm/kg, cm/kg or in/lbs
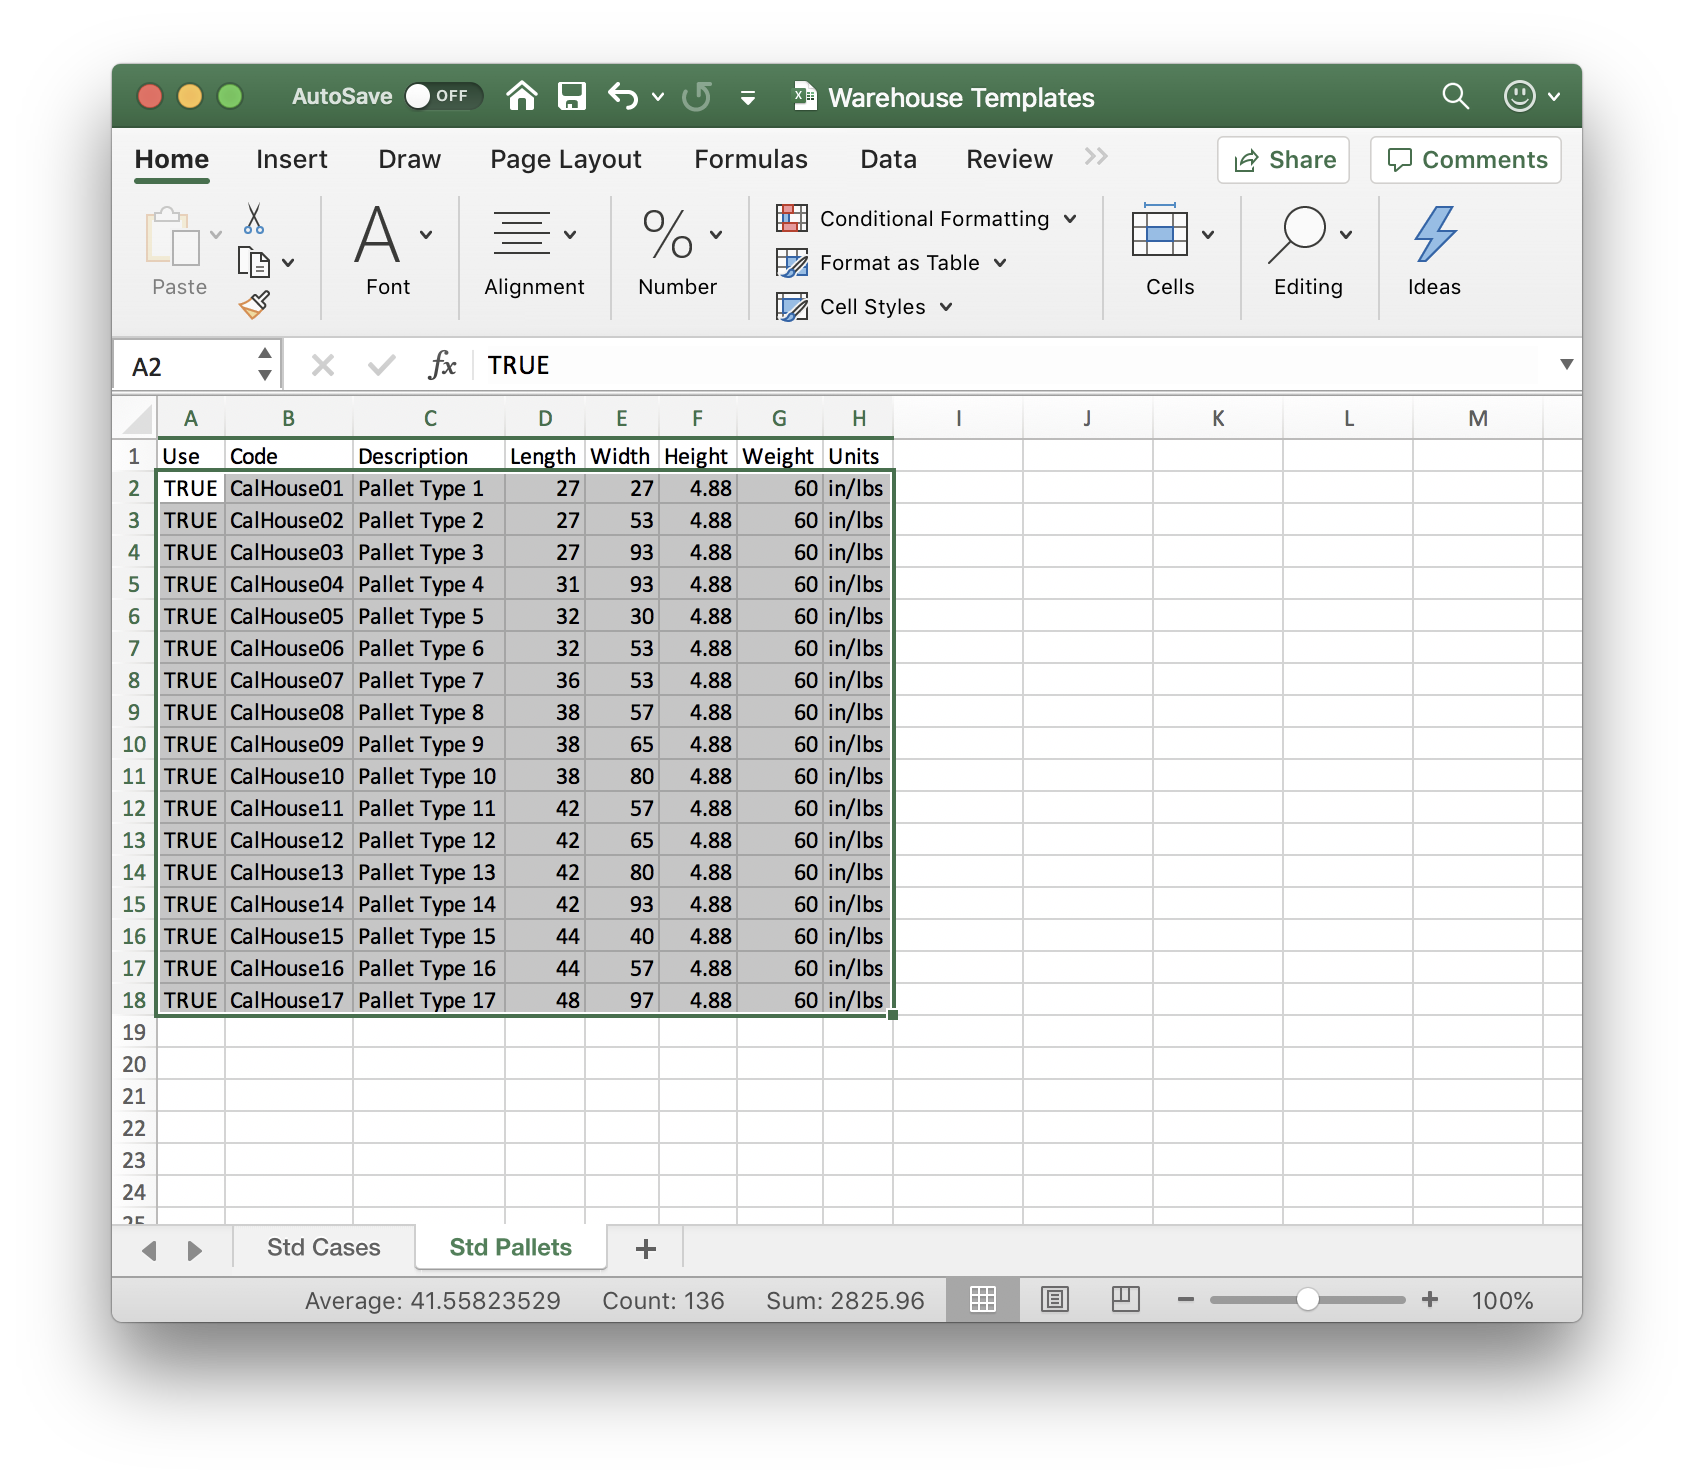
Copy from Spreadsheet
We select the list of pallets and copy them from the spreadsheet. Then, we go to the pallet table in Quick Pallet Maker and right-click to paste them.
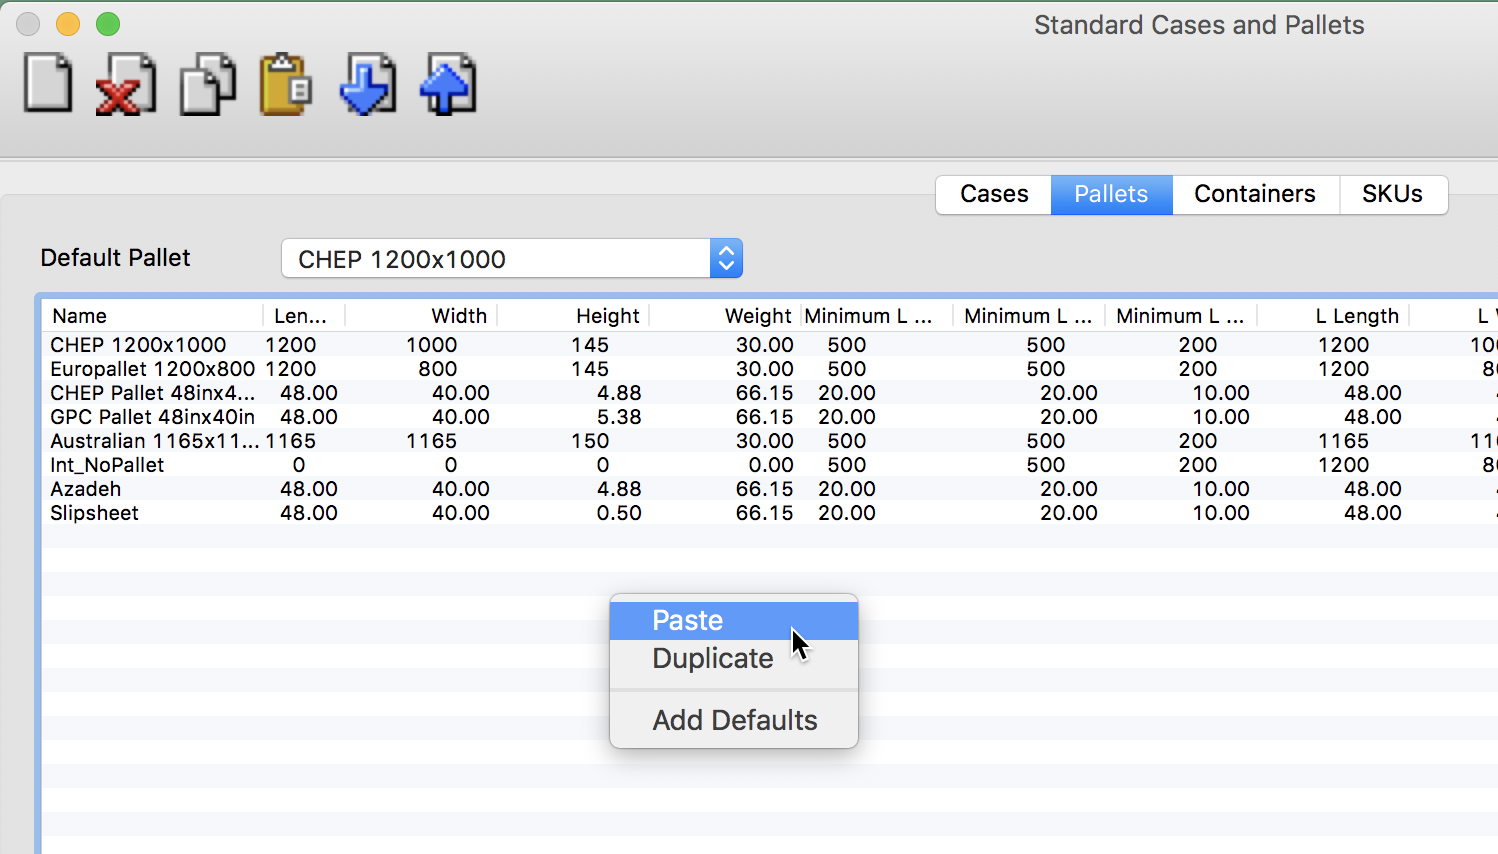
Paste on Pallet List
The new pallet list should appear, with the dimensions from the spreadsheet. We will need to increase the maximum load height from the original 70 inches to 90 inches. This is done by clicking on the cell and editing it. We repeat that procedure for all new custom pallets.
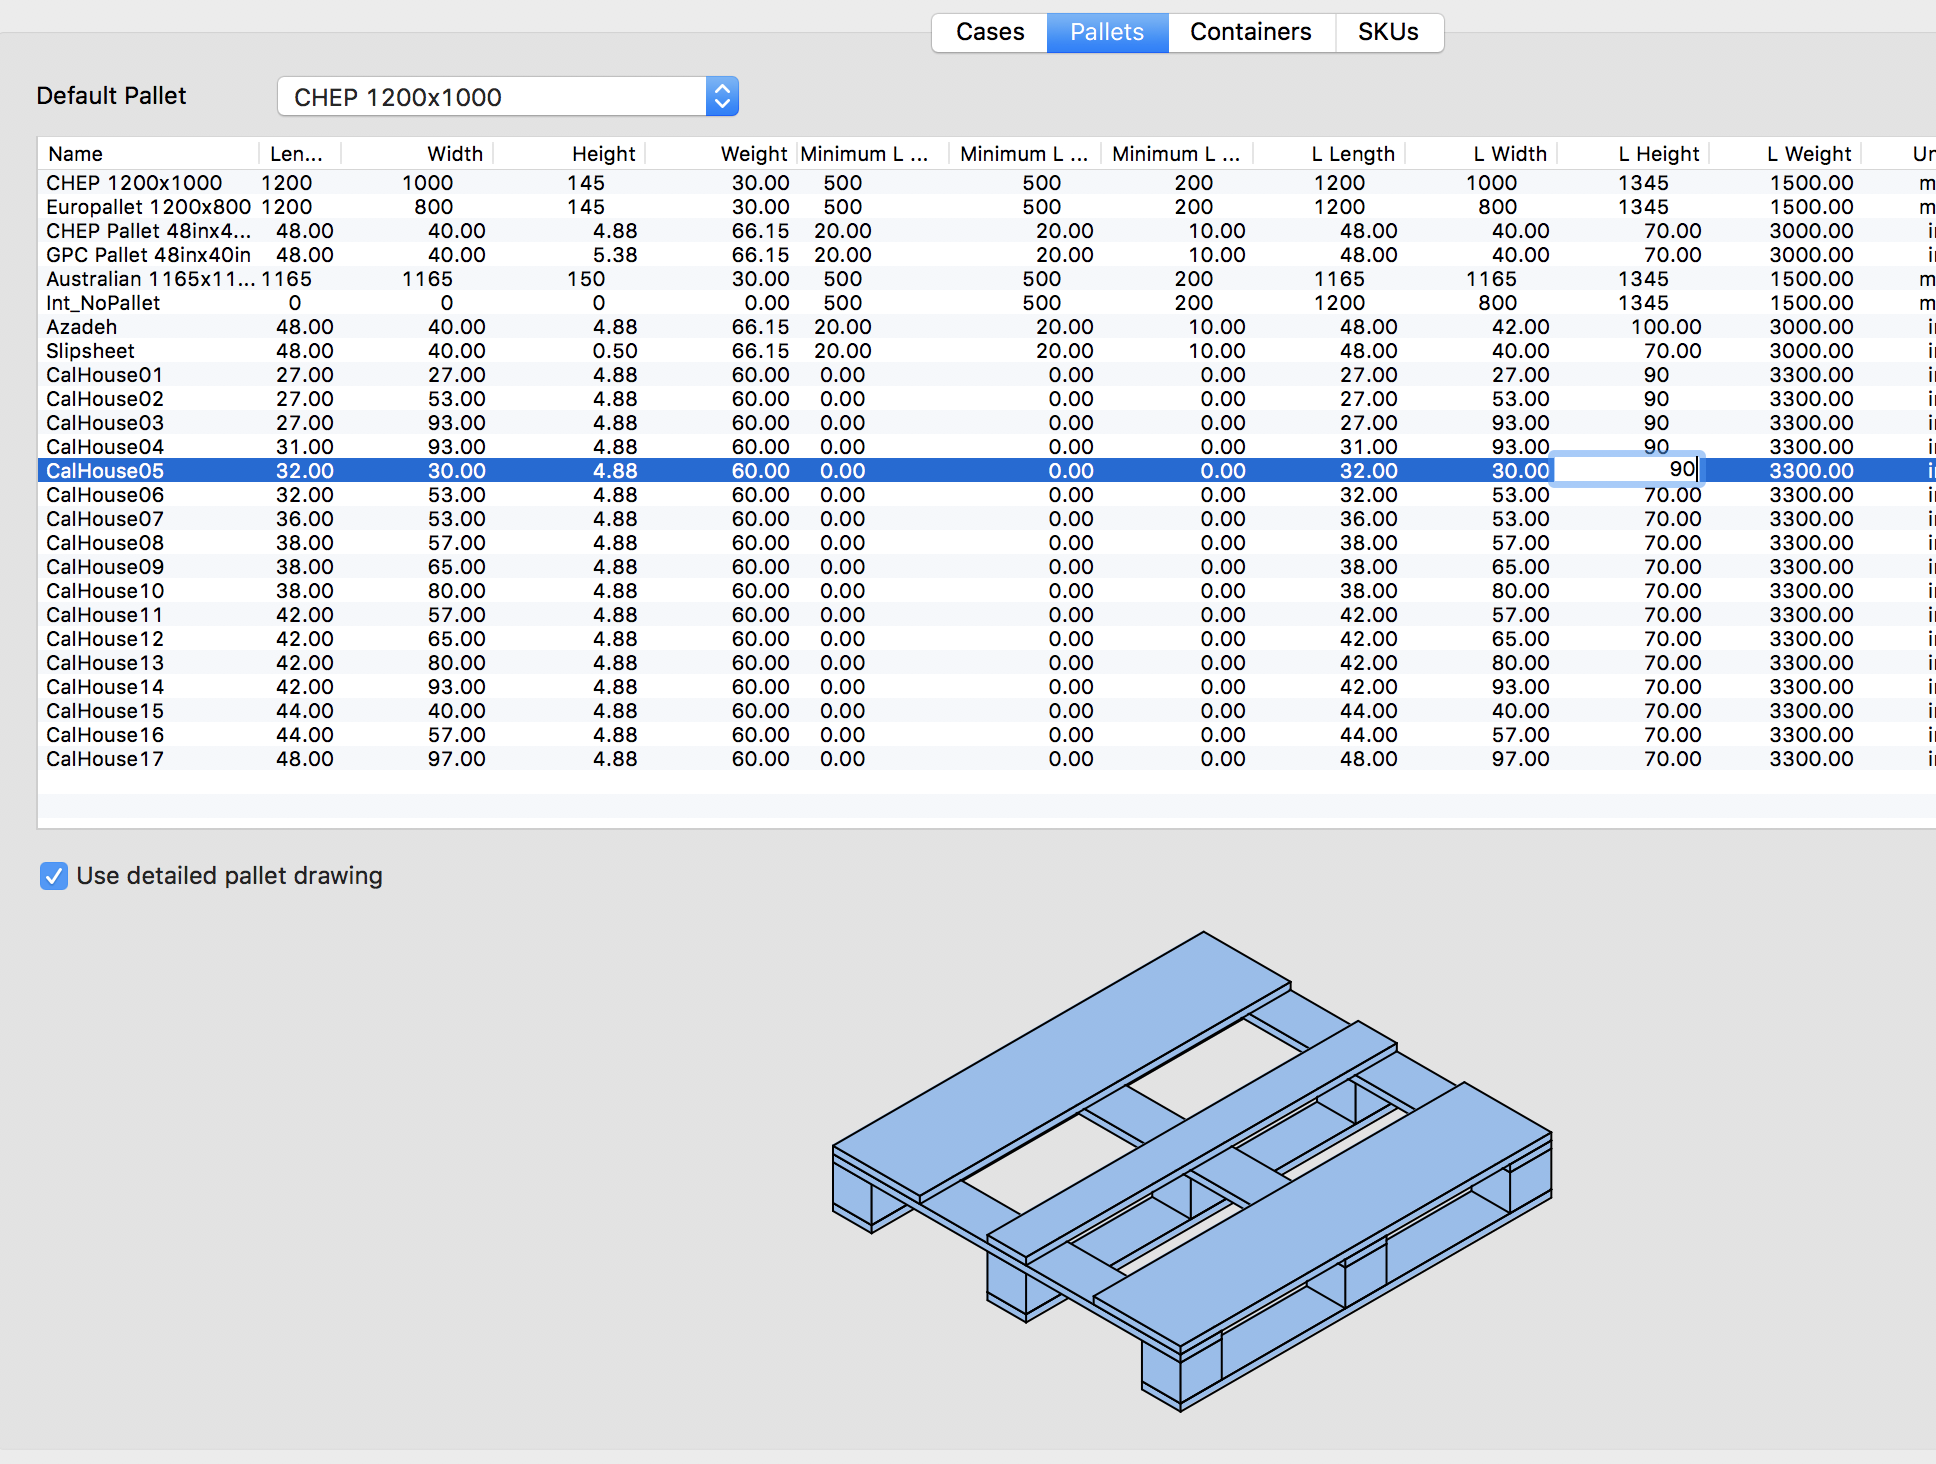
Updated Pallet List
The next step is to open the window in which we will calculate how many boxes can be palletized. We do this by selecting New Data Sheet - Box on Pallet.
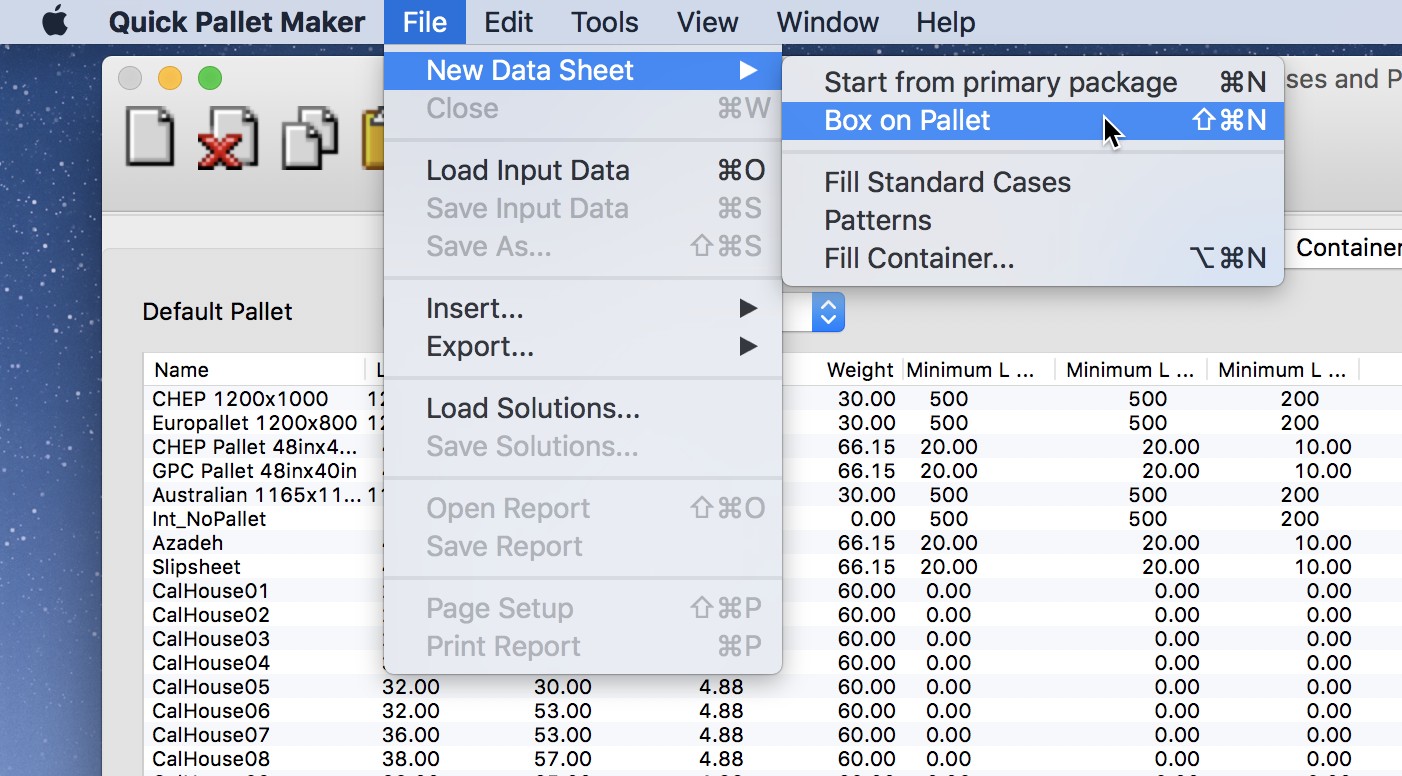
New Data Sheet - Box on Pallet
Since we will be working with inches, we need to change the units for the document window if the selected units are different. For this, we use Tools - Units - in/lbs.
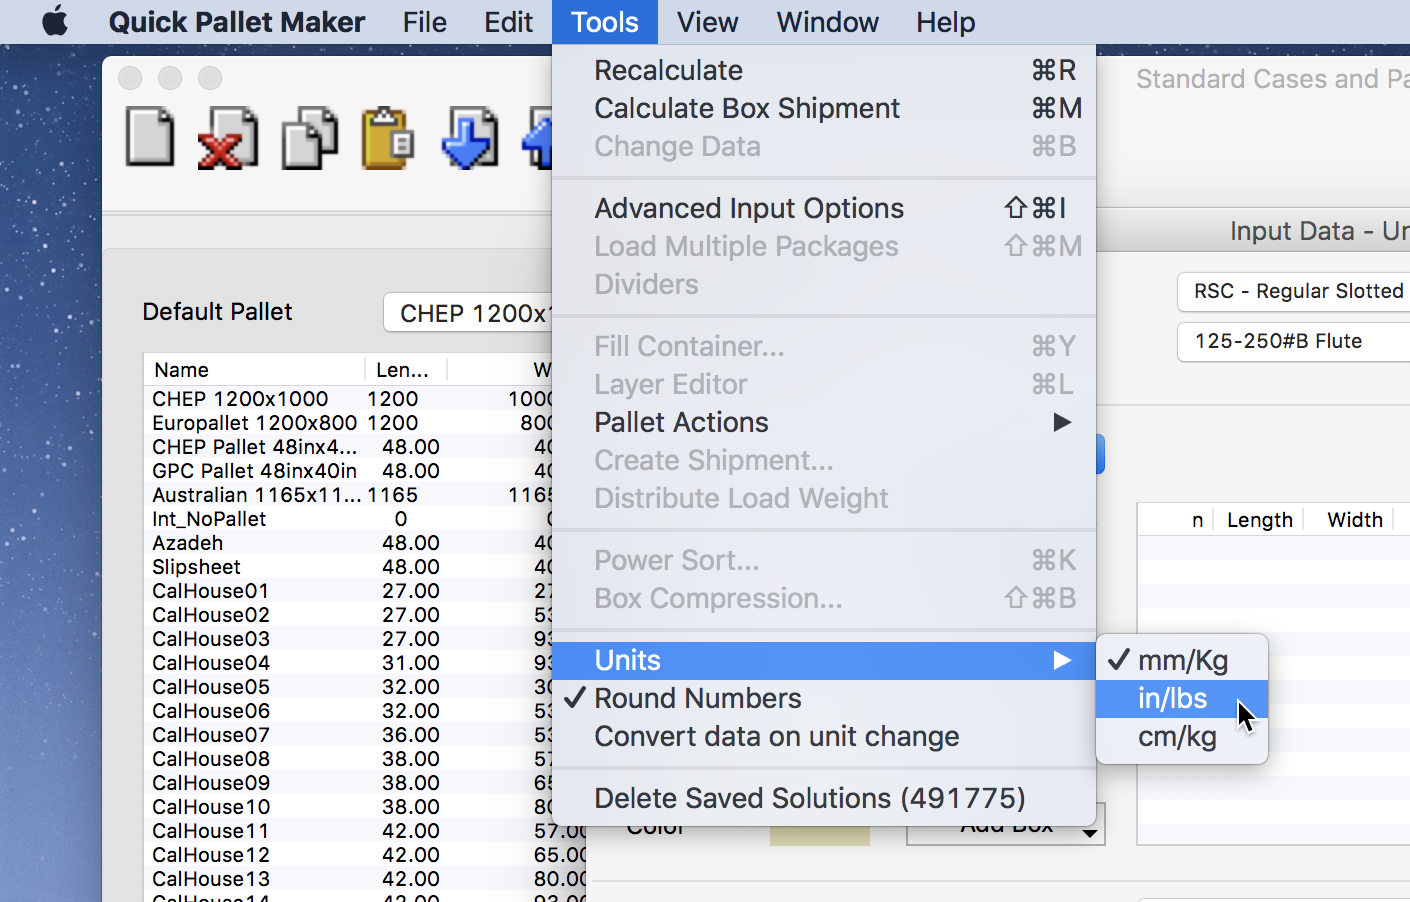
Tools - Units
Then, we go to the spreadsheet with the list of boxes that we will be using. An example spreadsheet is available through the following link. We select the area in yellow with the box data and then choose Copy.
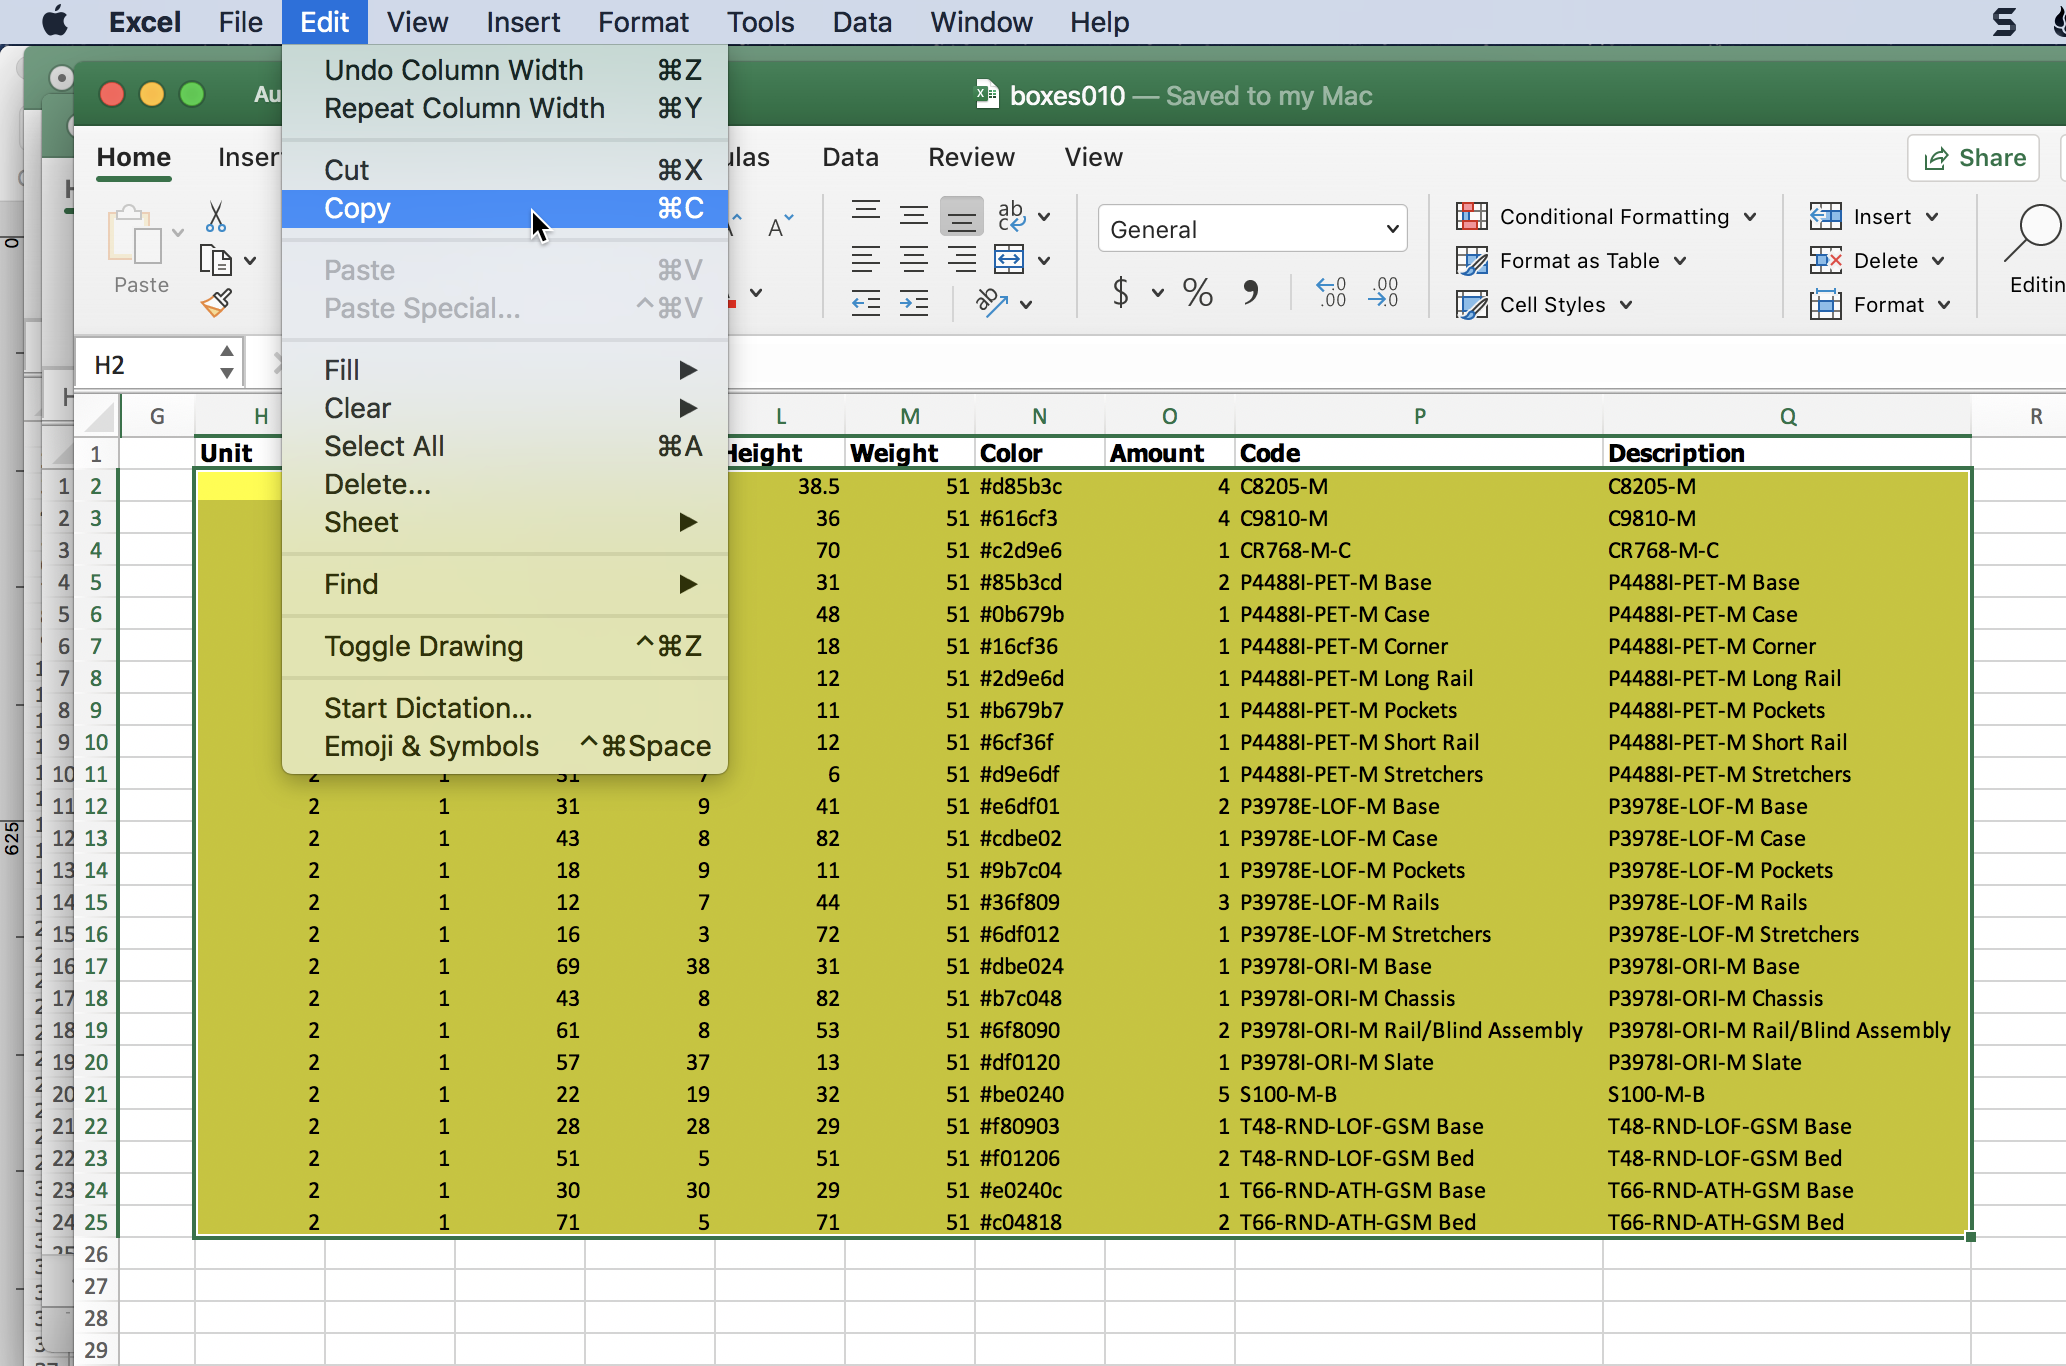
Copy Boxes
We go back to the QPM window we opened and then right-click the central table to select Paste.
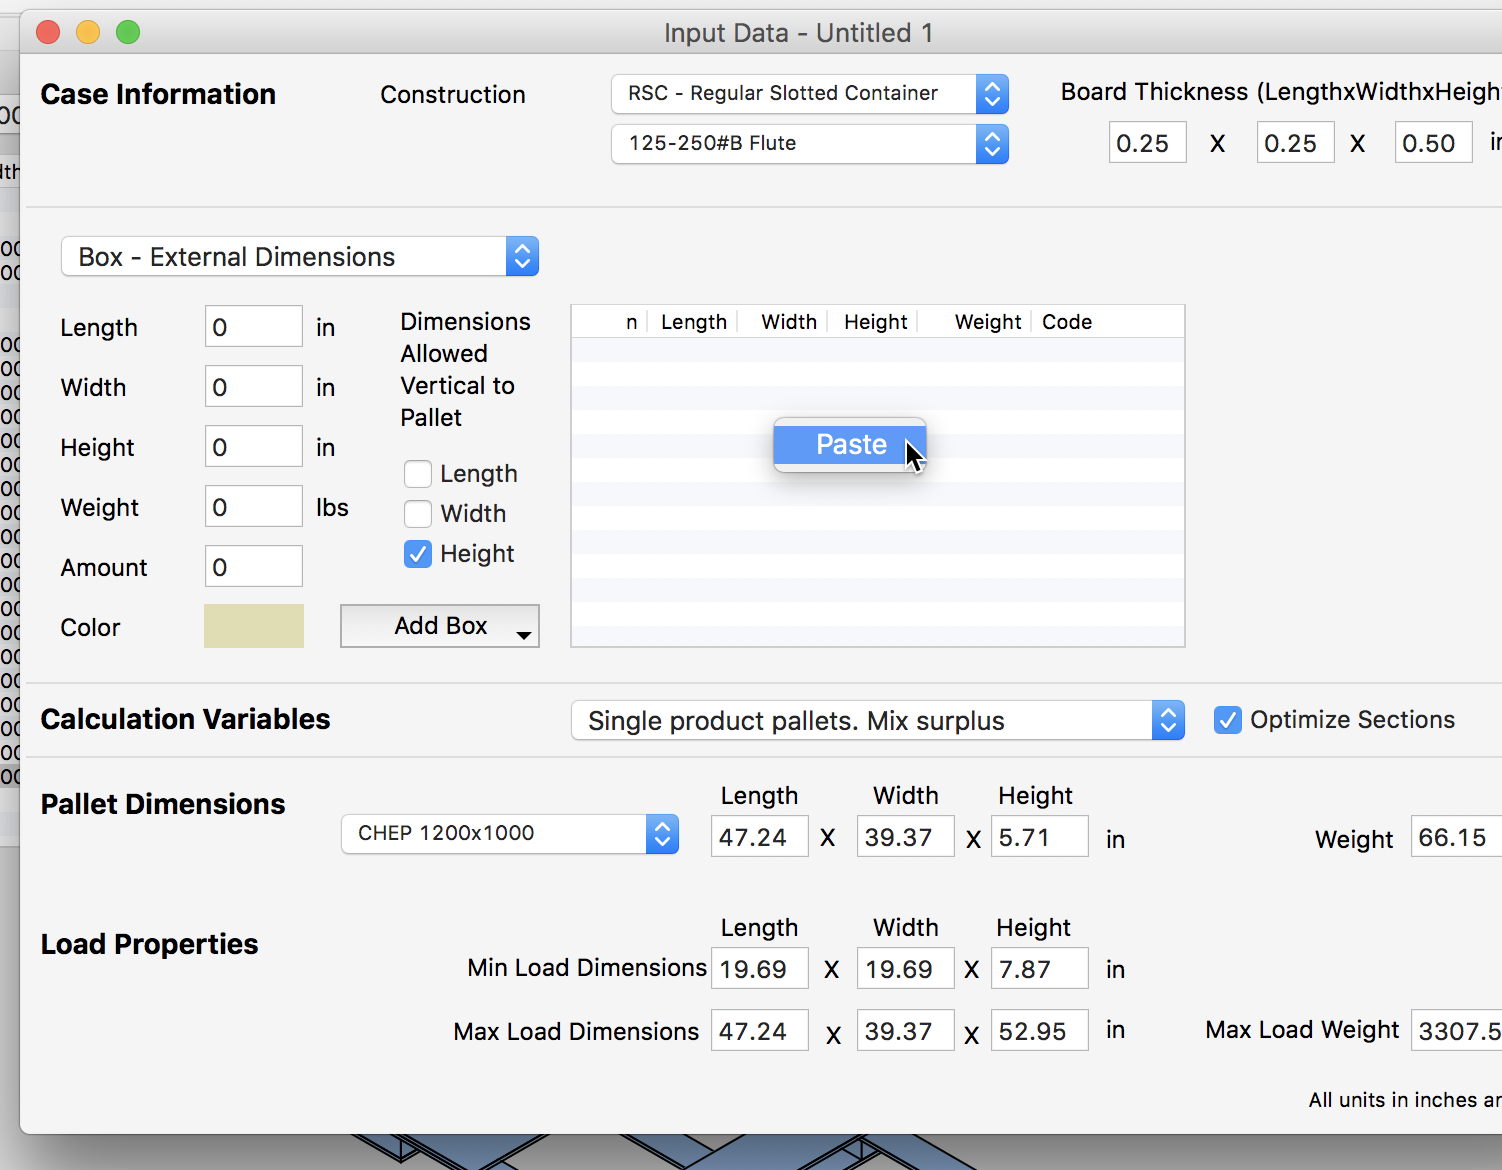
Paste Boxes
The list of boxes should appear. We will leave just the upright position selected because in this case, we are not allowed to flip them on their sides.
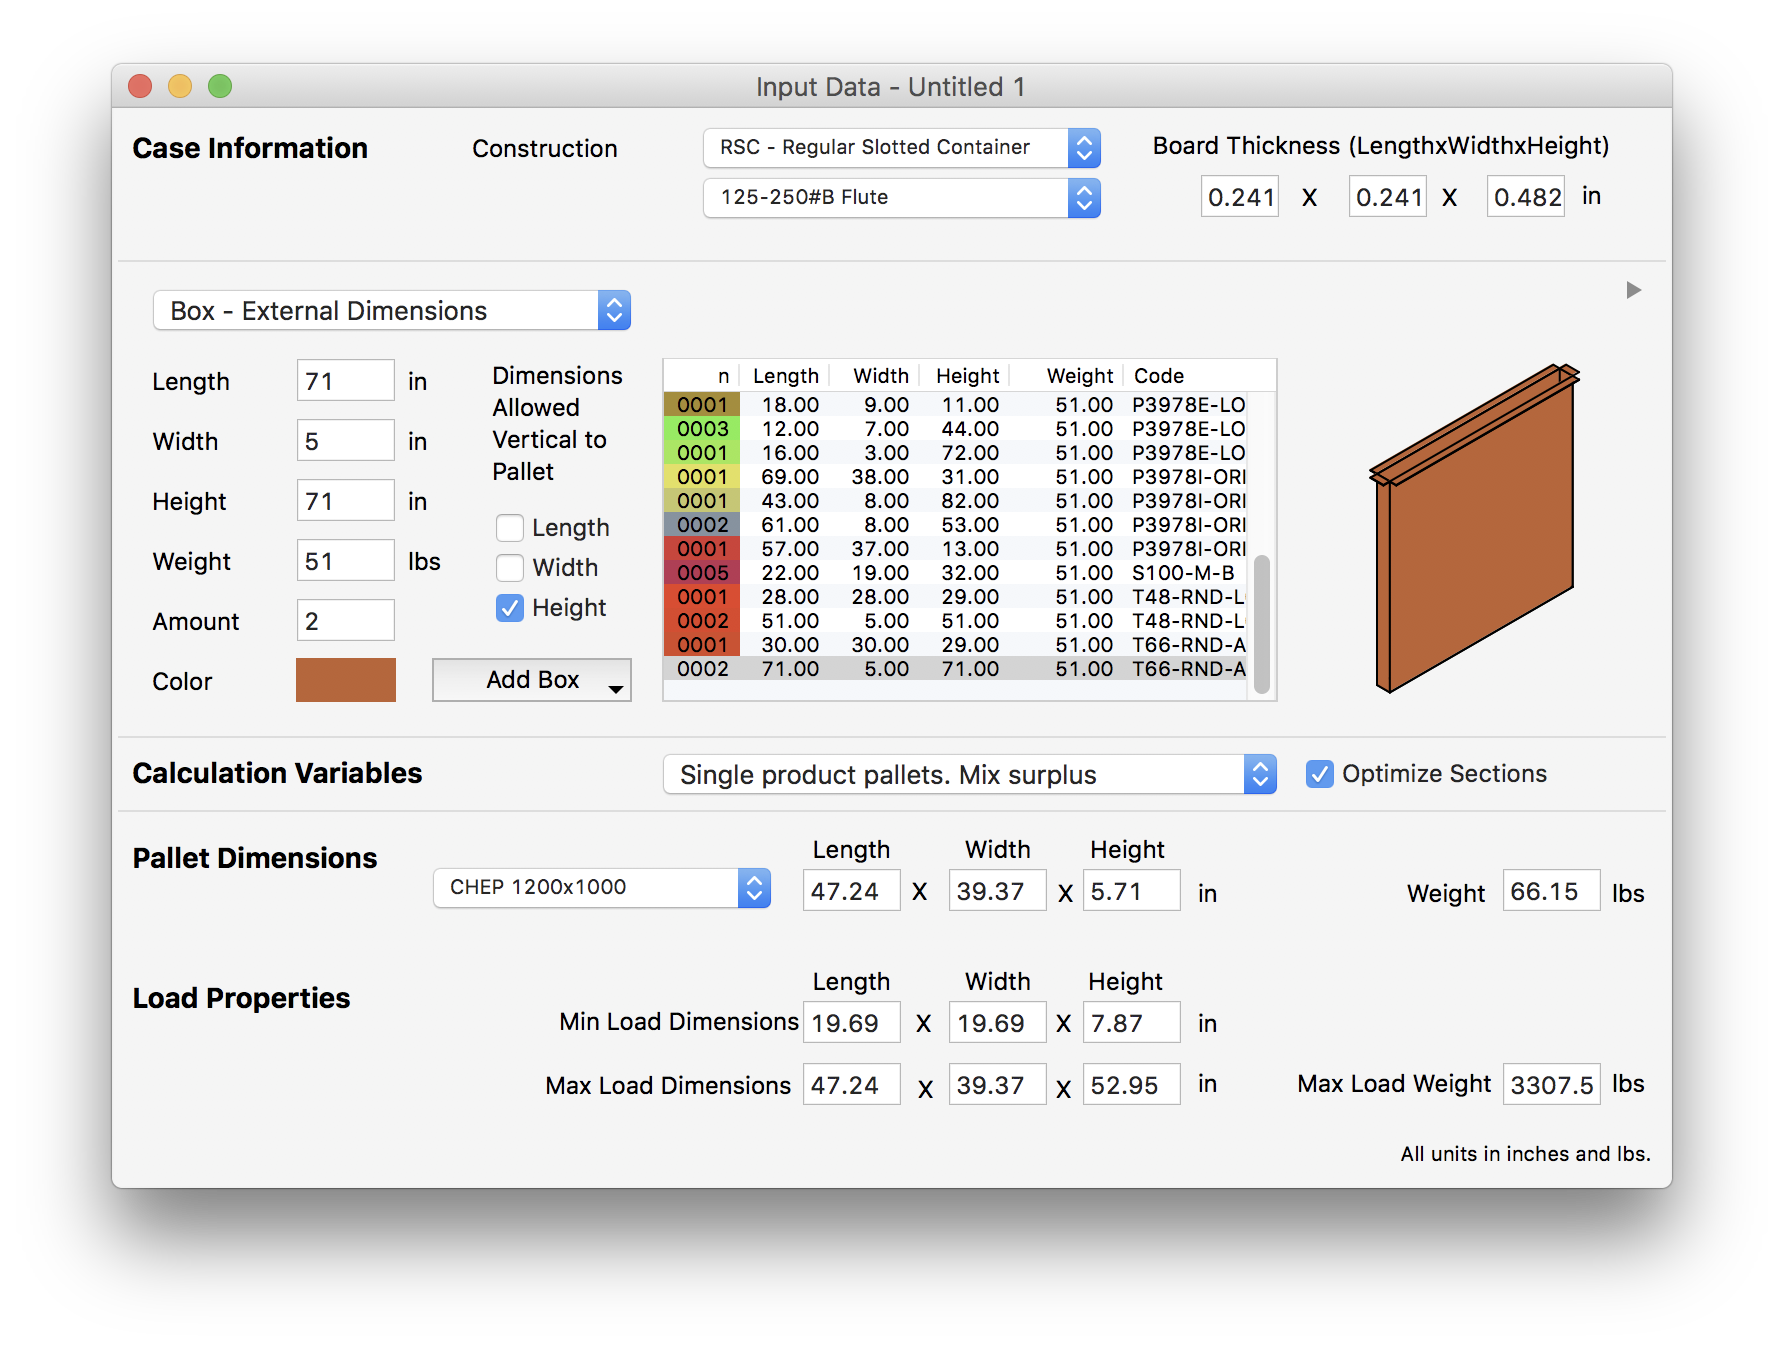
Box List
The next step is to open the Iteration window. This is done by selecting Tools - Advanced Input Options.
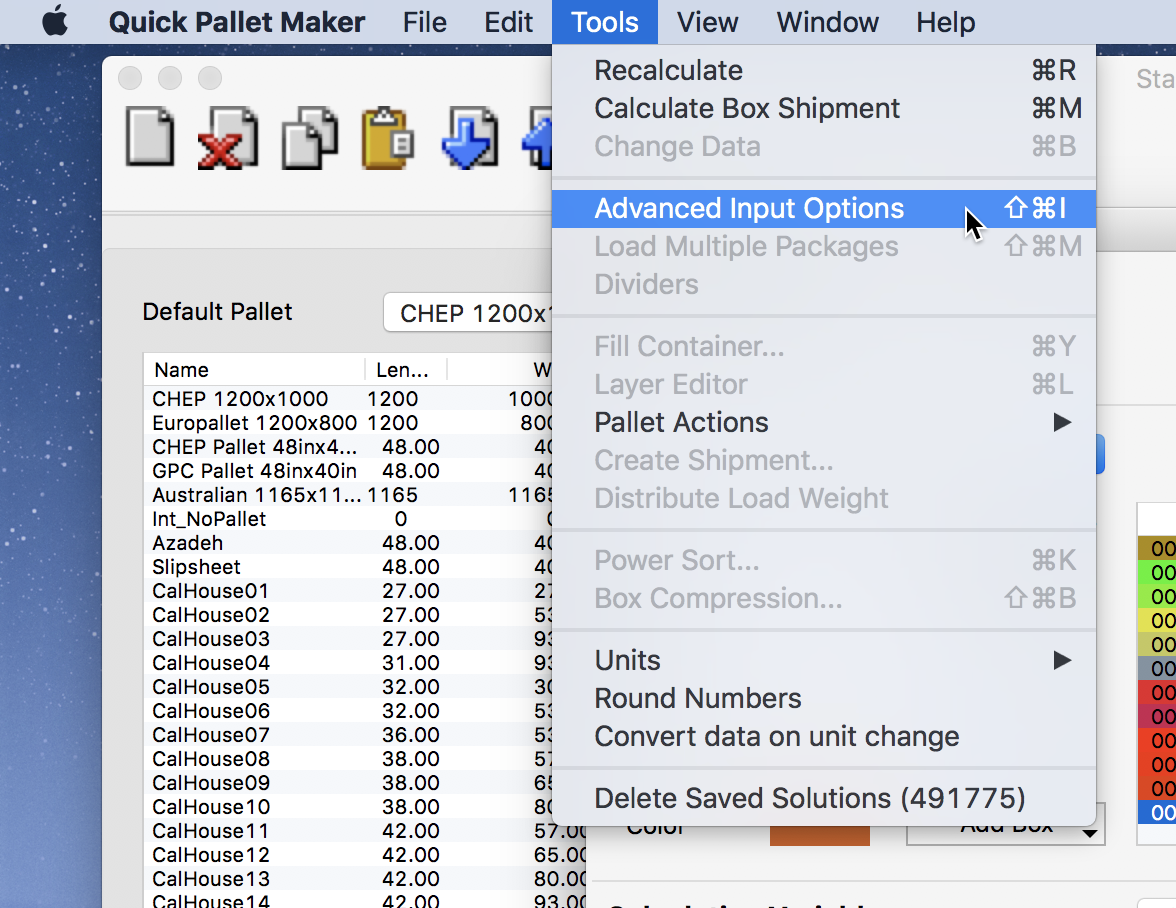
Advanced Input Options
A small window with two tabs will appear. We select the Inventory tab and check all of the new pallet types we pasted at the beginning of this example. Then we click on OK.
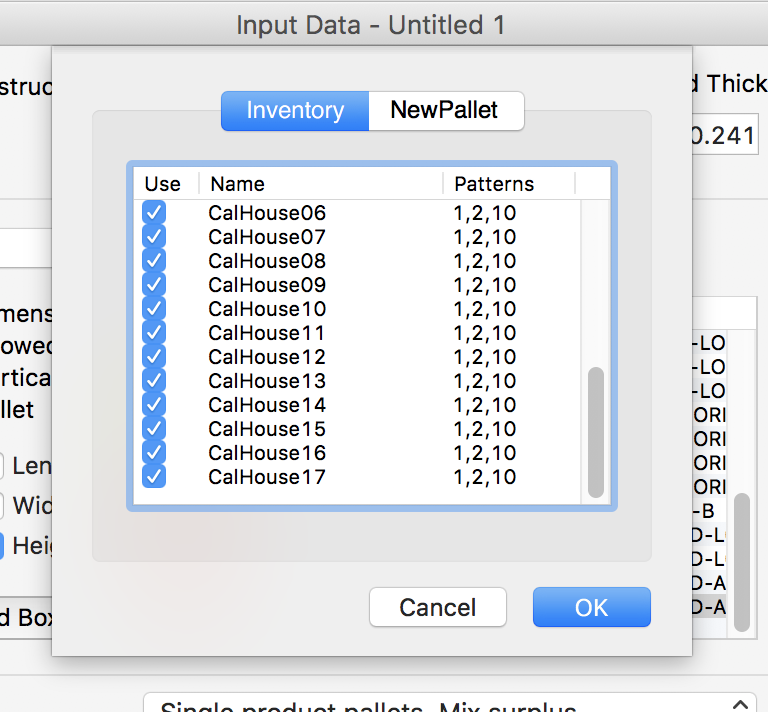
Pallet Inventory
After that, Quick Pallet Maker will start calculating the different pallets and then choose the size that fit the most boxes and required the least amount of pallets to do so. It will display these pallets in a list.
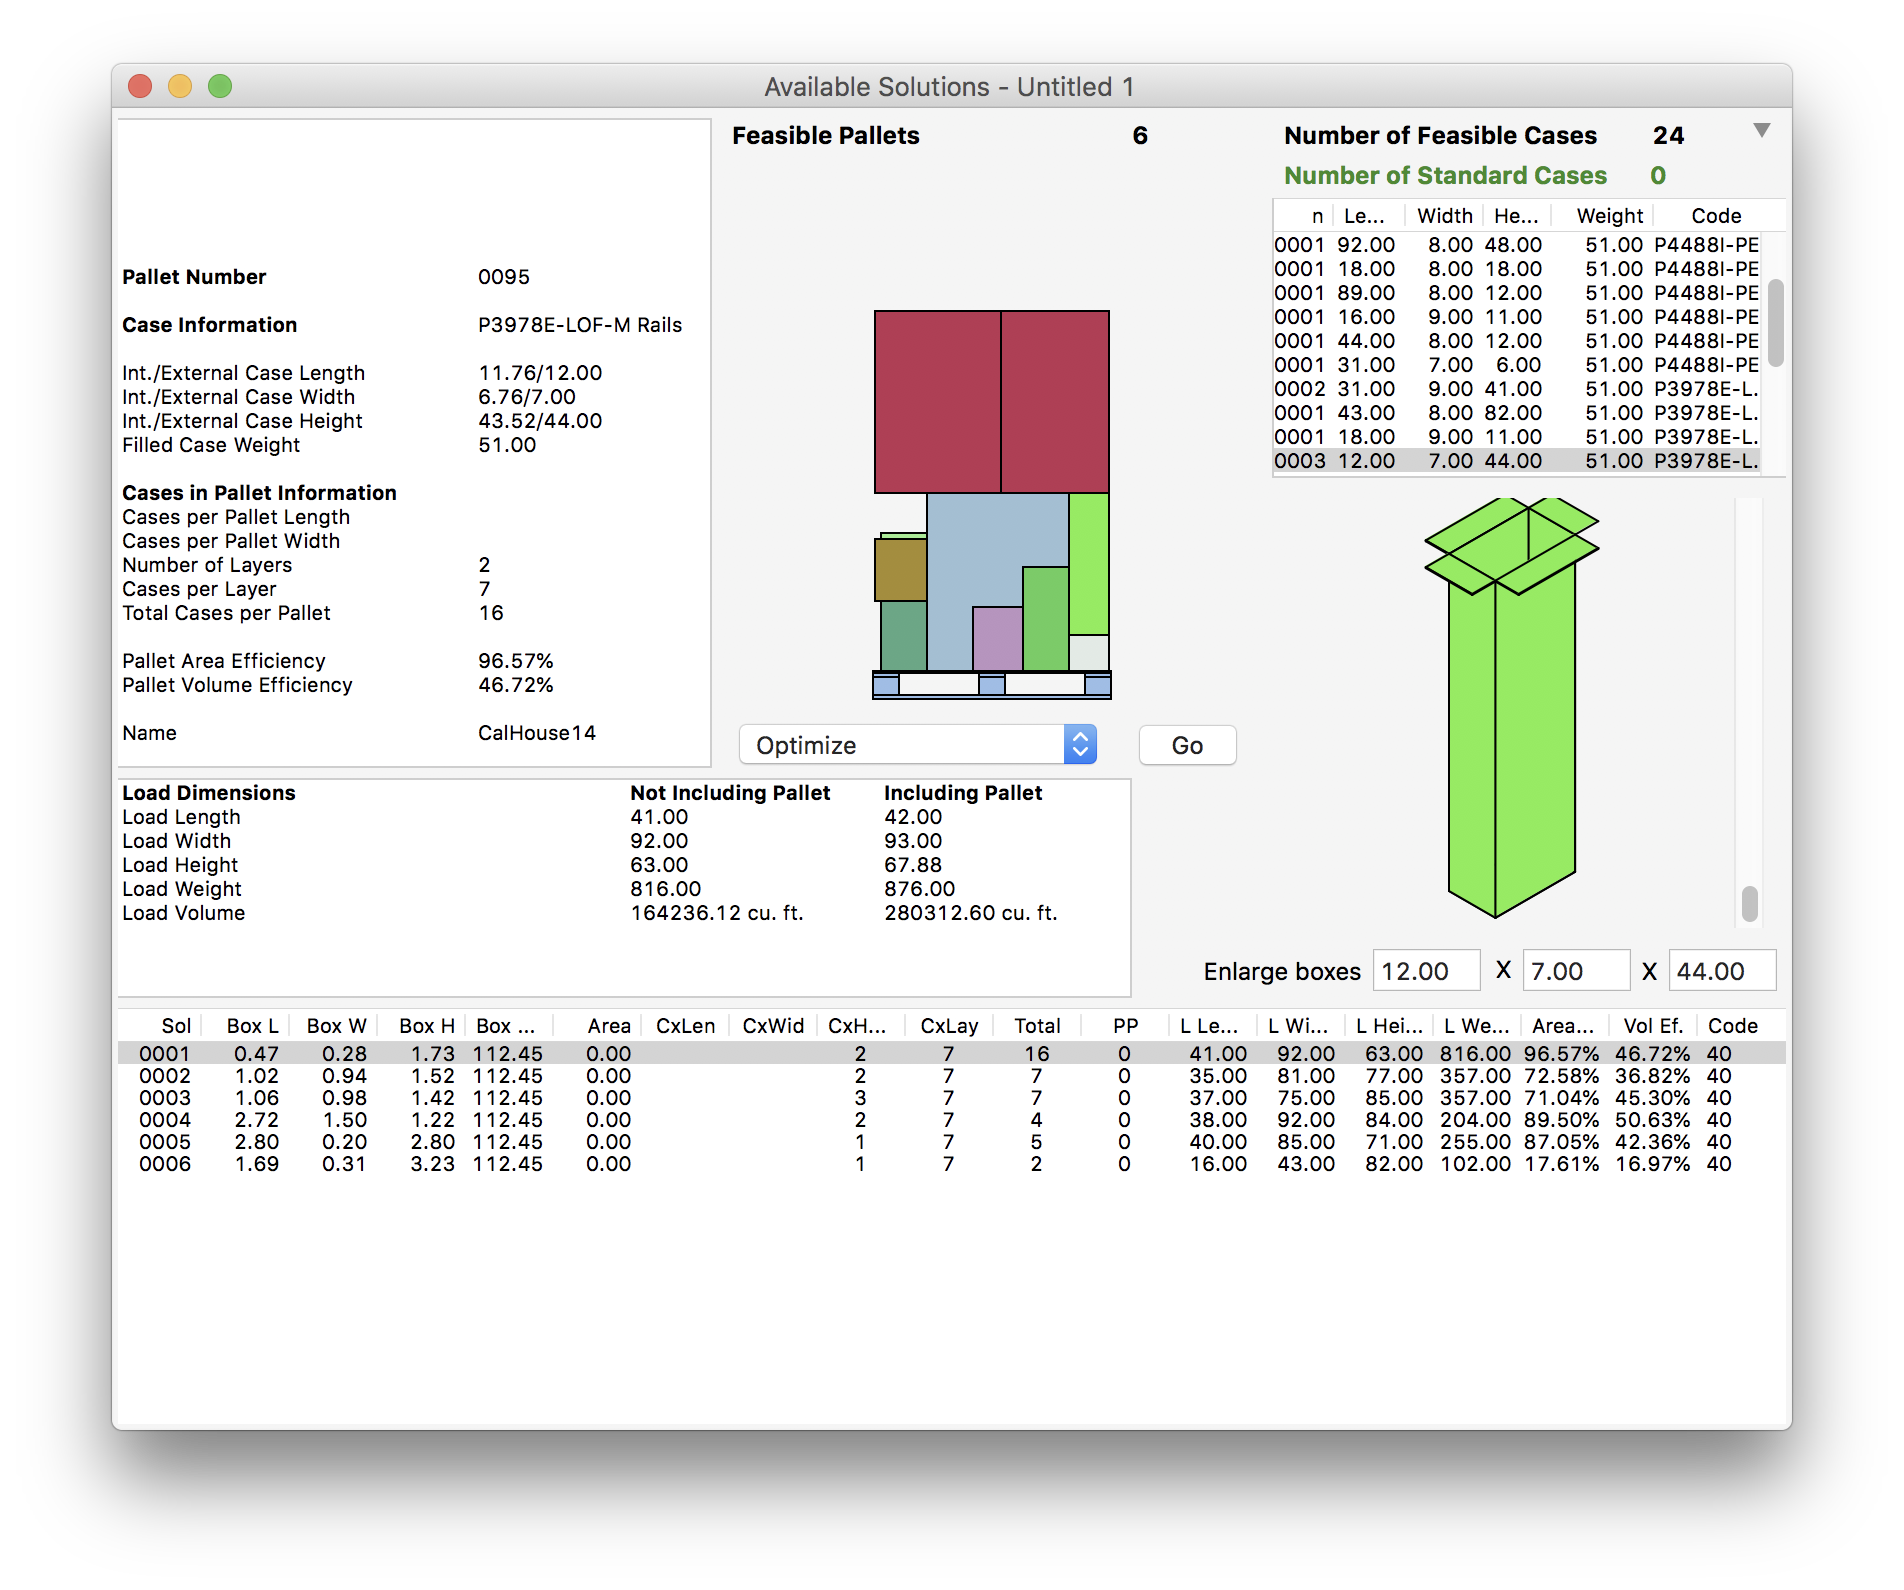
Available Solutions
To generate a report, we can select all of the pallets and then File - Print Report.
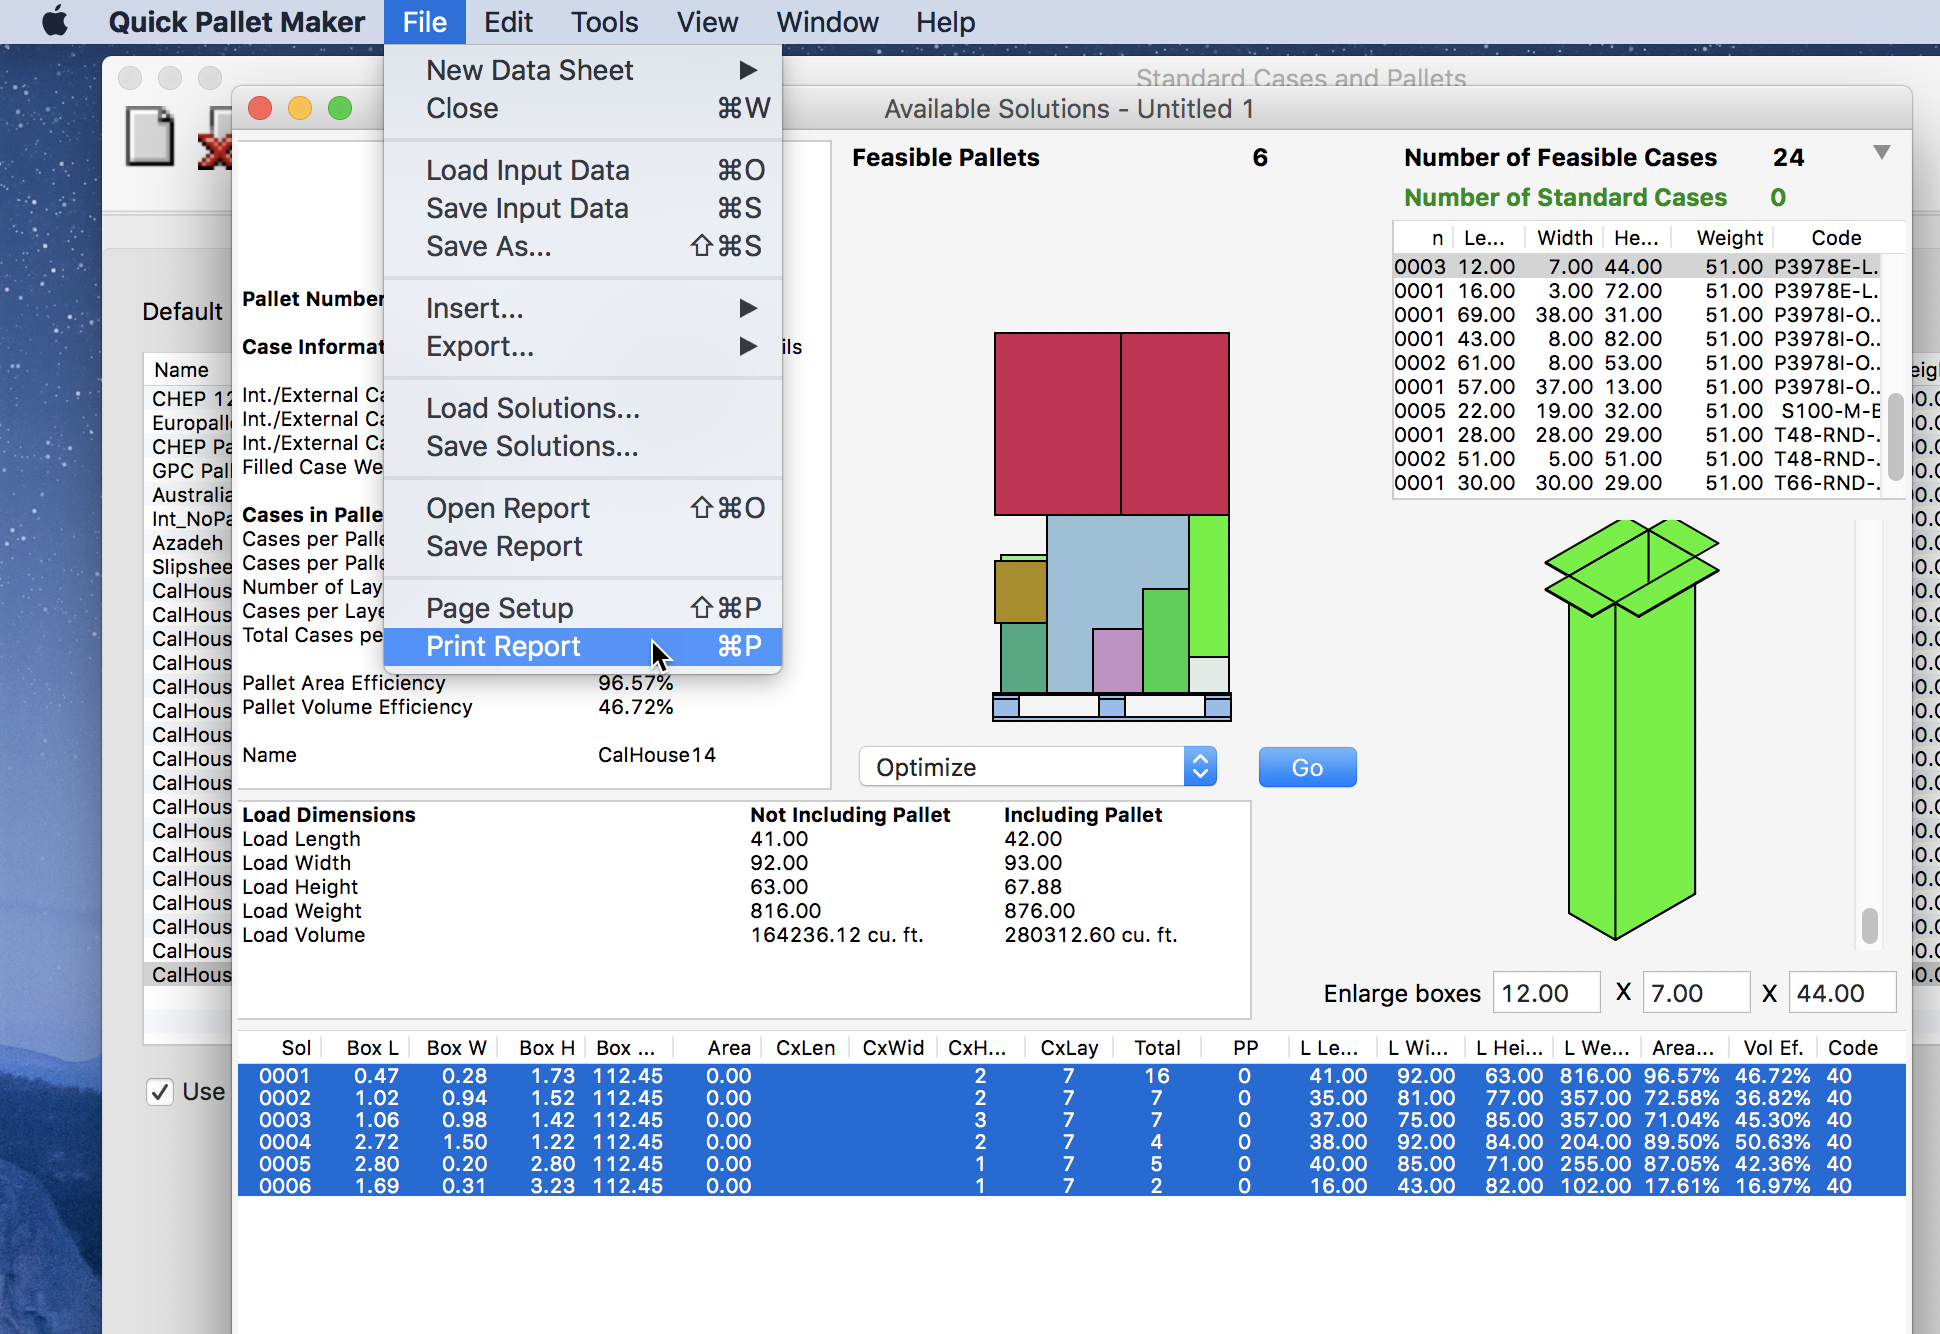
File - Print Report
A new window will appear with the list of pallets and all their contents.

Pallet Shipment Report