| This basic example explains how to calculate a container fill using a pallet produced from default data. In this case, we will calculate boxes and pallets from primary package dimensions and then select the optimal size for loading as many packages as possible into the container. The first step is to run Quick Pallet Maker and open the Standard Cases and Pallets window from the Window menu. Clicking on the second tab will show the list of containers. This is to check first the maximum internal height so we can design the pallet properly. In this case (we're using English units), it's 7.84 feet or 94.08 inches. |
 |
| The next step is to open a new document window starting from primary packages. To do this, we select "New Data Sheet -> Start from PP" from the File menu. The only variables that we will change here are the pallet type (we will use a 48"x40") and the maximum load height, which will be increased to a value just under the container height to allow for loading with lift trucks. |
 |
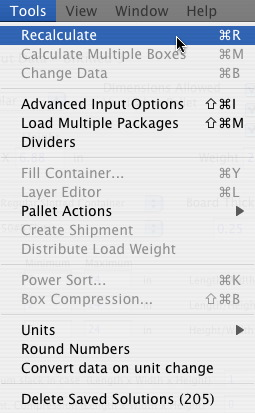
| When this has been completed, we select "Recalculate" from the Tools menu. |
 |
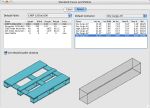
| The Recalculate command will create the boxes from the primary package dimensions and the pallets where those boxes will be fit into. For each box type, there are three pallets by default. |
 |
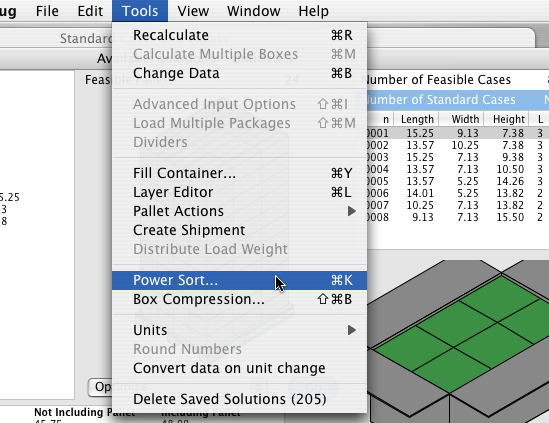
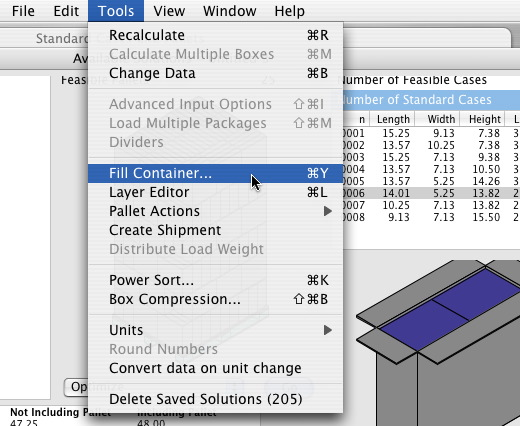
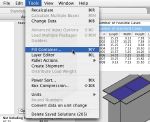
| Since we want to choose a pallet that optimizes the load the best without having to check each one from the list (even if the list is relatively short in the example), we will use the "Power Sort" command from the Tools menu to sort the pallet. |
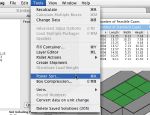 |
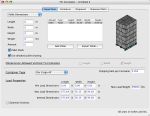
| Once the window has opened, we select "Total Primary Packages" as the first criterion and the descending order to have the pallet with the most packages on the top of the list. |
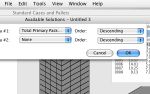 |
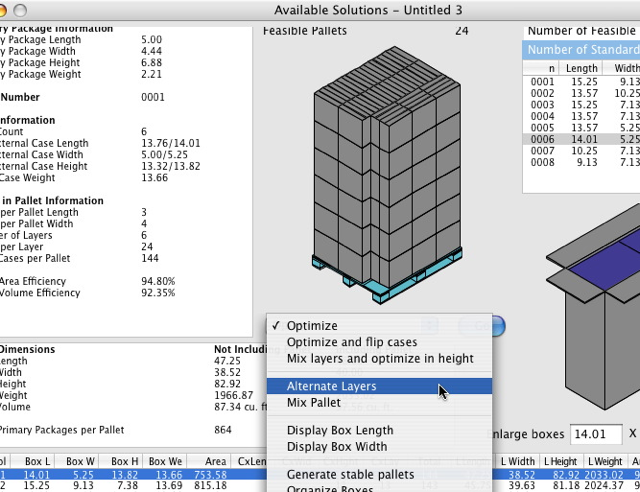
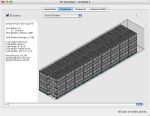
| And in effect, that's what we get when we click on "OK" in the sorting window. However, the pallet looks somewhat unstable since the boxes are relatively tall. To fix this, we use the "Alternate Layers" command from the center of the Available Solutions window. We can also select that command from teh Tools menu. |
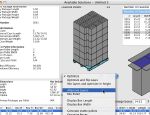 |
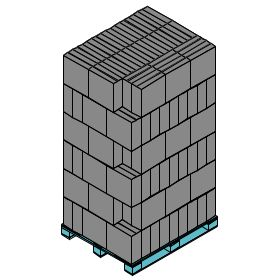
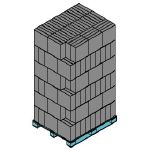
| The resulting pallet will be much more stable and the boxes will have less chance of falling off. |
 |
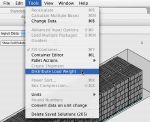
| Now that we have selected the right pallet, we use the Fill Container command from the Tools menu (not the one from the File menu) to open the container fill window and load the chosen pallet. |
 |
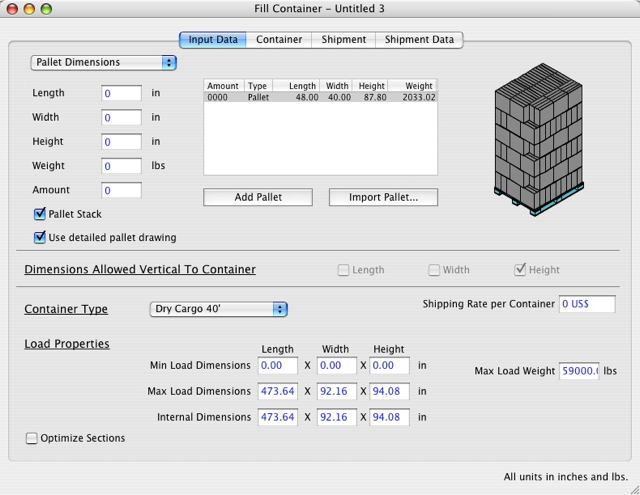
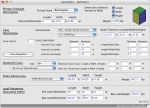
| A new window will open, containing the input boxes for creating a loaded container. To the left, you find a pull-down menu and the input section for a completely new pallet or box, in the top-middle section a table with the pallet information and to the top-right we find the drawing of the pallet. In the middle of the window, the information for placing the fill object on its sides but is not available for pallets because they can only be placed upright. In the lower section we will change the container type from 20' to 40'. Note the change in maximum load dimensions (fill constraints) and internal dimensions (the dimensions of the physical container. The maximum height is the reason why we designed the pallet that way. |
 |
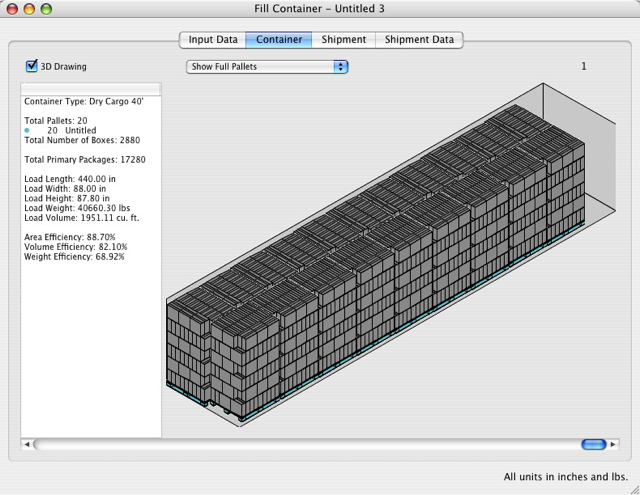
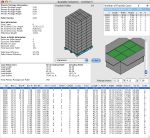
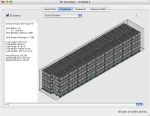
| If we click on the Container tab and wait a short while (depending on your computer speed) for the calculation and drawing, we obtain a container filled with pallets. |
 |
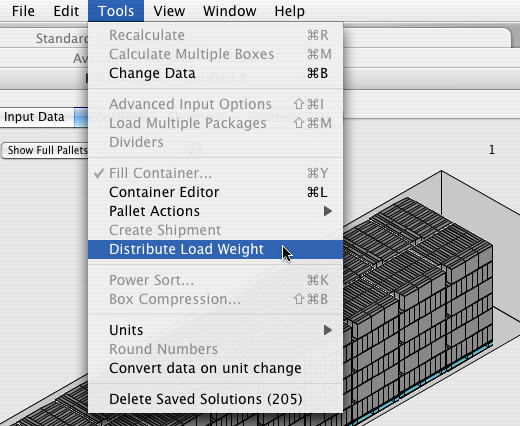
| Since the boxes are shifted to the front of the container and this may be a cause for issues when lifting it with a crane or transporting it with a truck, we use the "Distribute Load Weight" command from the Tools menu. |
 |
| The final result is a container with pallets and with a centered load. This can be printed by choosing "Print" from the File menu. Prior to that, you may need to select "Landscape" from the "Page Setup" window in the File menu. |
 |