Vehicle Space Optimizer

How to Create and Edit Asset Classes

An asset class is a means to differentiate SKUs by groups of properties for loading or warehousing purposes. There are two levels of classes in VSO. In this example, we show how to create an individual asset class and how to paste them from a spreadsheet.

Creating an Individual Asset Class


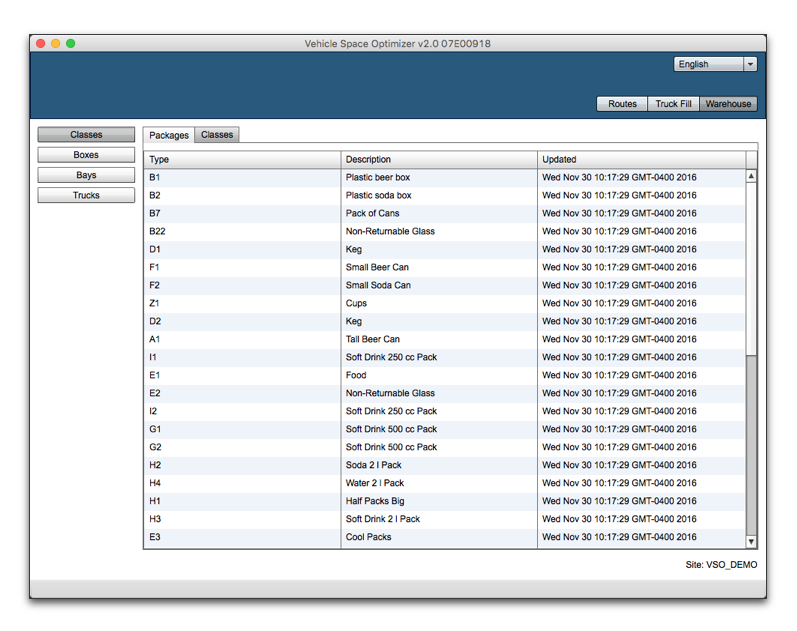
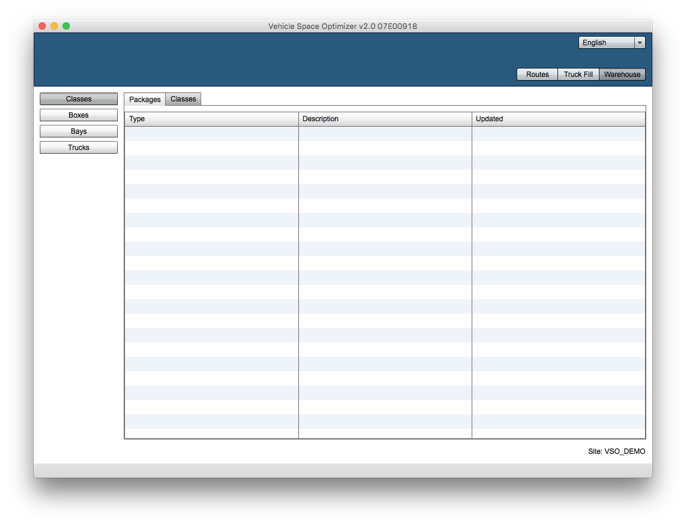
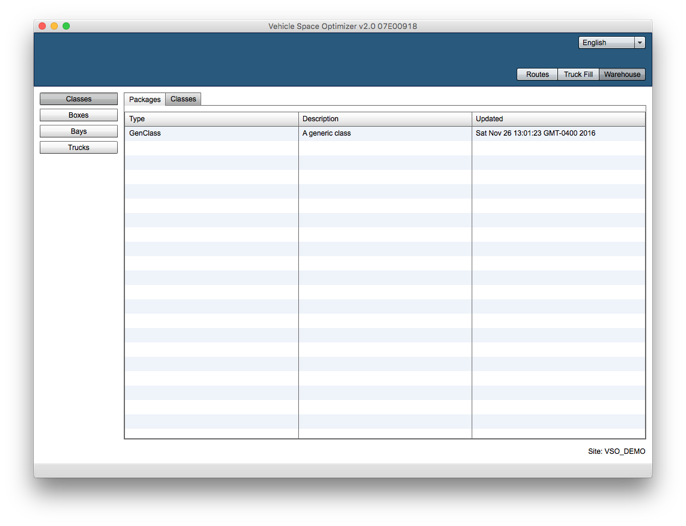
The first step is to run VSO with a Planner or Administrator credential and select the Warehouse panel. Then, click on the Classes button to the left. Your screen should look like the one in the image below.

VSO Example


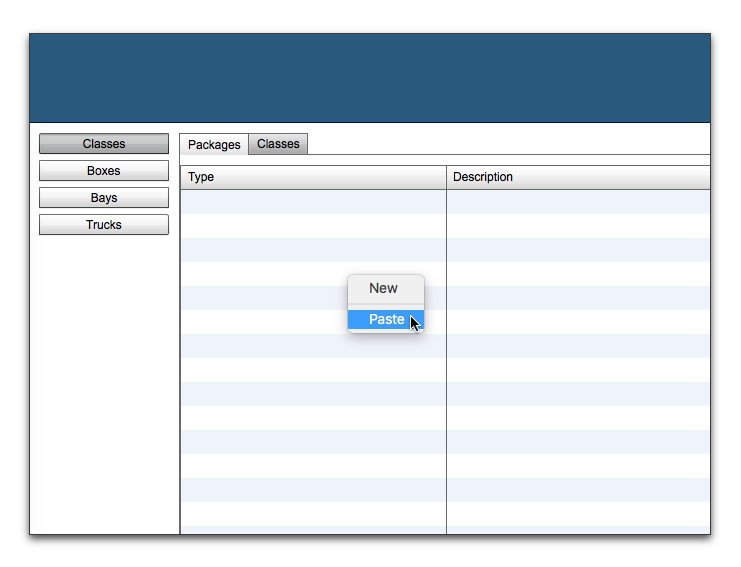
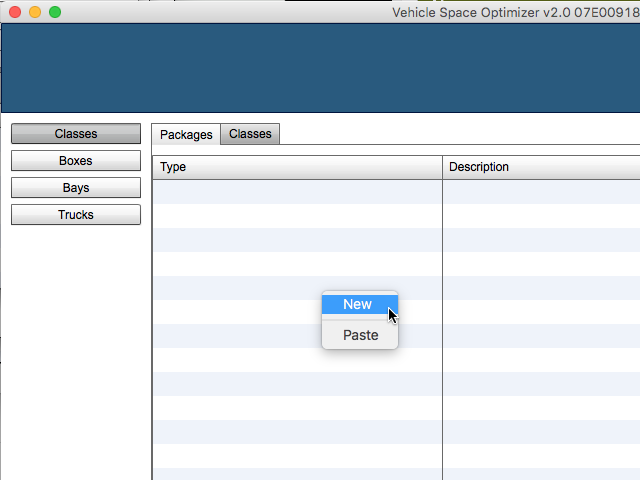
Then, we click on the large table with the right mouse button. A contextual menu will appear in which we will select "New".

VSO Example


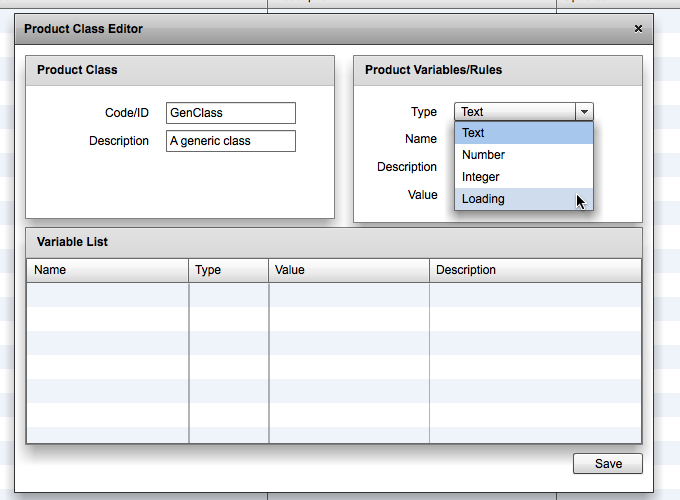
This will open the Product Class Editor window in which we can add/edit individual product classes and add properties to them.

VSO Example


In this case, we will create a new class and call it "GenClass" with a short description to match. For this class, we will add a loading property. For this, we select from the menu at right labelled "Type" the option marked "Loading".

VSO Example


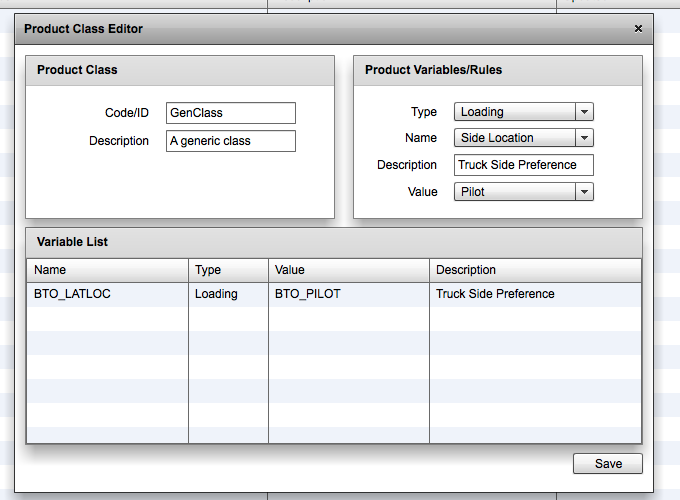
The Loading property that we picked relates to the location of the SKUs that are associated with this class in a multi-bay delivery truck. In this example, we want all of the items in this class to be placed on the driver's side of the truck. Therefore, we choose Loading -> Side Location -> Pilot. Once we've selected these options in the menus, we double-click on the table to add the property. Then, we click on the "Save" button to close the window.

VSO Example


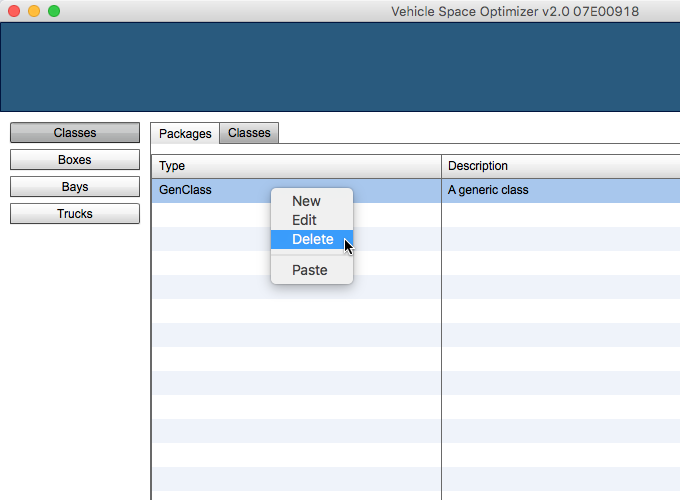
The table with the list of classes should update to show the one we just created.

VSO Example


To continue, we will select the class and click with the right mouse button to open the contextual menu. From that menu, we choose "Delete" to remove it.

VSO Example

Pasting a List of Class Names and Descriptions


When we are dealing with a large number of classes to add to the database, it is more practical to copy and paste the code and the description from a spreadsheet. In the screenshot below, we can see the two columns that have that information. We select the area in yellow starting from the second line.

VSO Example


We then switch to VSO and select in which tab we will paste the data. If we select the first one, we will be adding first-level classes. If we select the second tab, we will be adding second-level classes. For this example, we select the first table and right-click on the table to pull up the contextual menu, from which we will select "Paste".

VSO Example


The end result should be a list of primary classes to which we can add properties through the class editor explained previously.

VSO Example

Subscribe

Click on the button below to subscribe to our emails where we will inform of software updates and related information. We will not share your email with third parties.

Subscribe

Need Product Support?

Please remember that you can make any question before and during the software usage period. We offer a free demo period where you can test all the software features before purchasing. If all is not OK, contact us.